At some point in our lives, most of us have encountered a paint can. Whether it’s for touch-ups or storing extra paint, knowing how to properly open and seal a paint can is essential to avoid messes and dried-out paint.
In this blog post, we will provide a step-by-step guide on how to open and seal a paint can effectively, ensuring your paint remains usable for future projects.
Opening the Paint Can
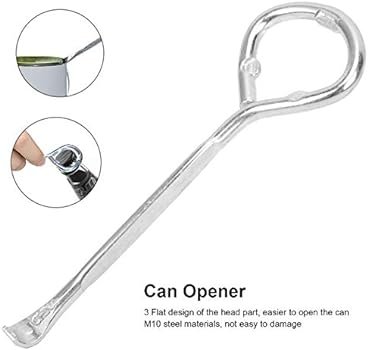
Using the right technique to open a paint can is crucial to avoid damaging the lid or its seal. While some people may use a screwdriver, this method can be risky.
Instead, it is recommended to use a paint can opener, which is inexpensive and readily available. These tools have a curved tip that easily fits under the lip of the paint can lid, allowing you to pry it open without causing any damage.
Stirring the Paint
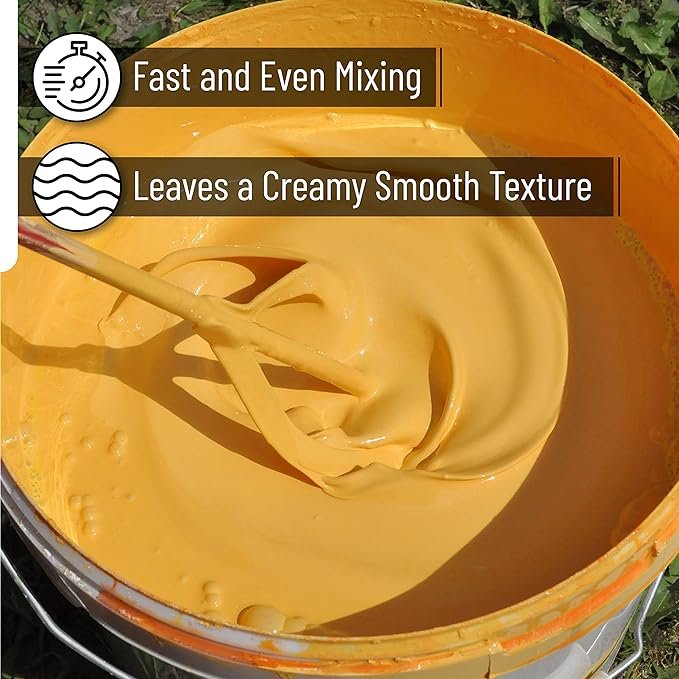
Once the can is open, it’s important to thoroughly stir the paint to ensure it is well-mixed. Use a stir stick or a paint mixer attachment on a power drill to achieve a consistent color and texture. Properly mixed paint will provide better coverage and a more even finish.
Pouring the Paint
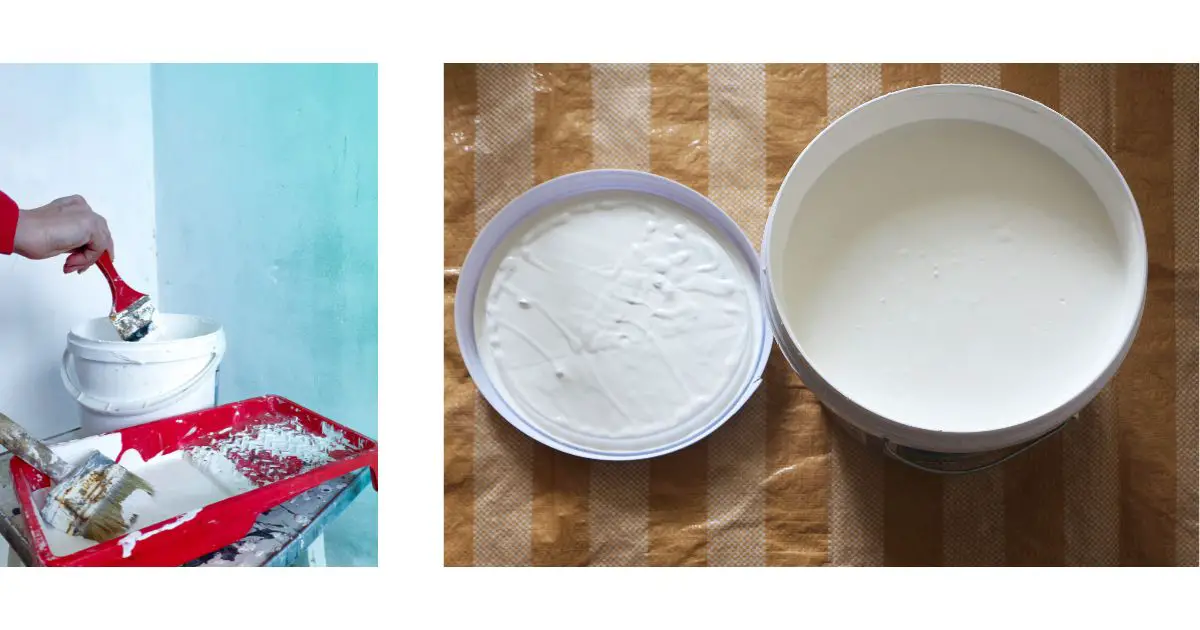
After stirring, you can pour the paint into a tray or bucket for easier application. As you pour, be mindful of any drips or spills, and clean them up promptly to avoid accidents.
It’s also recommended to wipe any wet paint from the lip of the can using an old rag. Removing excess paint from the grooves in the top of the can will ensure a secure reseal.
Consider a Paint Can Spout
To make pouring paint even more convenient and mess-free, consider using a paint can spout. These spouts attach to the top of the can, allowing for controlled pouring without spills or splatters.
However, keep in mind that not all paint cans are compatible with spouts, so check compatibility before making a purchase.
Sealing the Paint Can
Properly sealing the paint can is crucial to prevent the paint from drying out or becoming contaminated. Start by ensuring that the grooves around the top of the can are clear of any wet paint. Any remaining paint in the grooves can cause splattering and hinder achieving an airtight seal.
Once the grooves are clean, align the lid correctly and place an old rag over the top of the lid. The rag should cover both the lid and the top of the can. Using a rubber mallet, gently tap the lid in a circular motion to secure it in place.

Begin with light taps and gradually increase the force until the lid is securely sealed. Finish off with a few firm taps to ensure a complete seal.
Preserving Your Paint
Knowing how to open and seal a paint can properly is essential for preserving your paint for future use.
Whether you have leftover paint cans from a professional painting job or touch-up supplies for your home, following the correct procedures will help maintain the paint’s quality.
Conclusion
Opening and sealing a paint can may seem like a simple task, but following the correct steps can make a significant difference in preserving your paint’s usability.
By using a paint can opener, stirring the paint thoroughly, pouring carefully, and sealing the can securely, you can ensure that your paint remains fresh and ready for future projects. Remember to always clean up any spills and dispose of paint cans responsibly.

