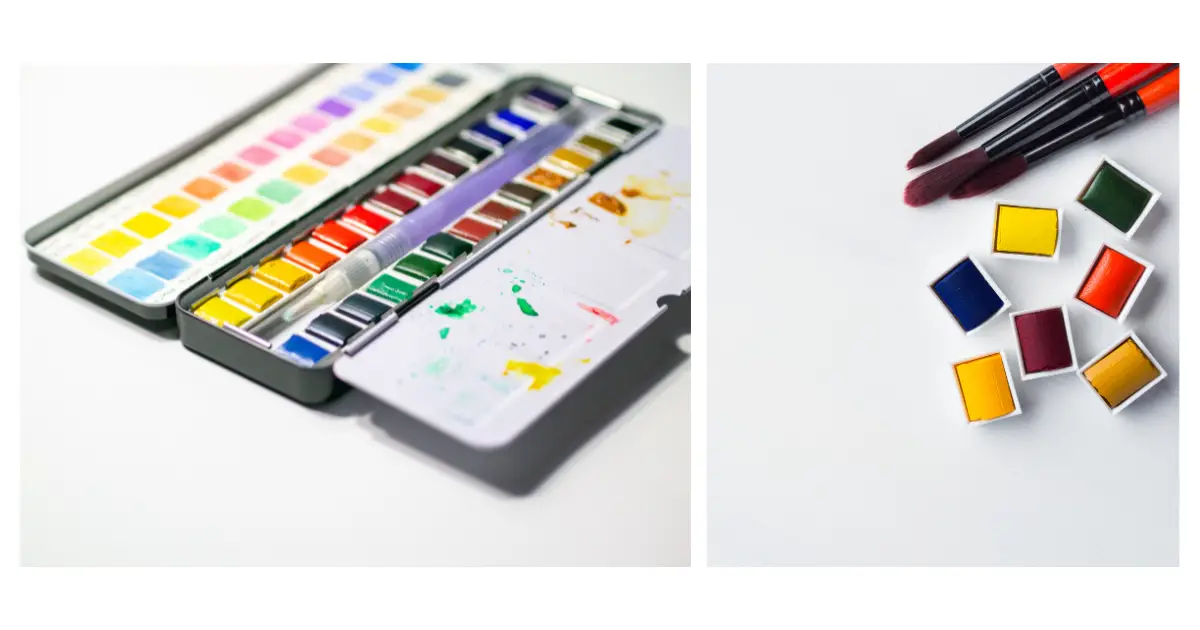
To make a watercolor birthday card, you will need:
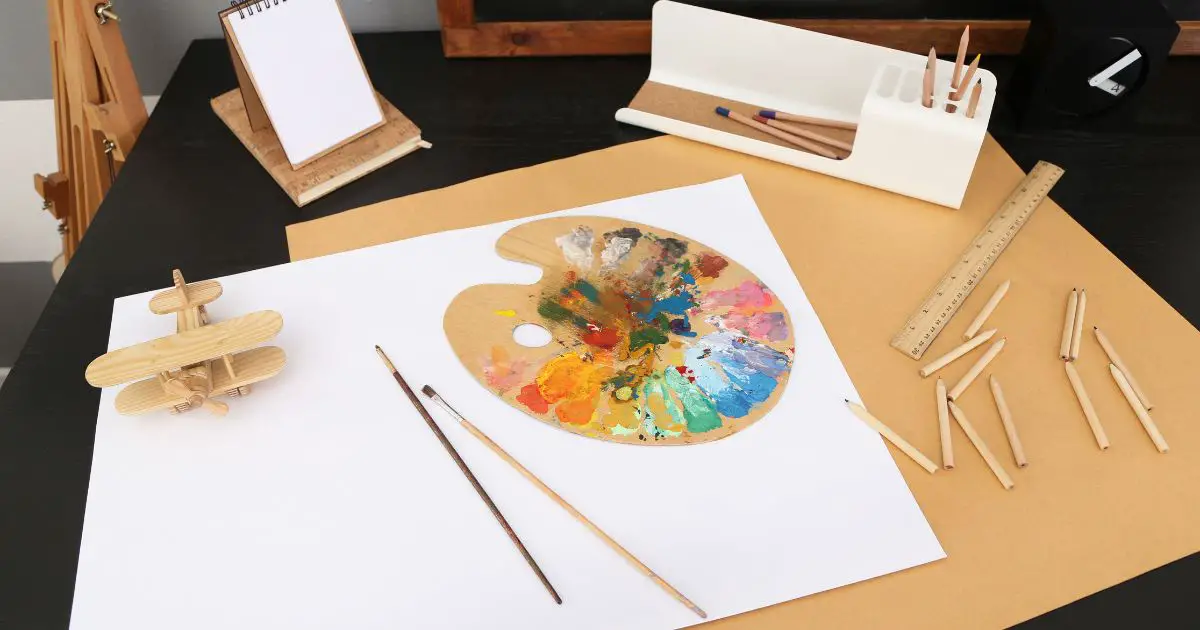
- Watercolors
- Paintbrush
- White paper or cardstock
- Black pen or marker
- Begin by painting a wash of color across your paper. You can use one color or several colors, and paint in any pattern you like. Let the paint dry completely.
- Once the paint is dry, use a black pen or marker to write “Happy Birthday” (or whatever message you like) across the center of the paper.
- Fold the paper in half to create a card, and give it to someone special on their birthday!
- Gather the supplies you will need to make the card, including watercolors, a paintbrush, water, cardstock, and scissors
- Use the watercolors and paintbrush to create a design on the cardstock
- Be sure to let the paint dry completely before moving on to the next step
- Once your design is complete, use the scissors to cut out any desired shapes from the cardstock
- Add any additional embellishments to your card, such as ribbon or stickers, if desired
- Your watercolor birthday card is now complete!
EASY DIY Birthday Cards
How to Make Watercolor Greeting Card?
Watercolor greeting cards are a great way to add a personal touch to any occasion. Here are some tips on how to create your own watercolor greeting cards:
- Choose your paper wisely. watercolor paper is thicker and has a “tooth” or texture that helps the paint adhere better than regular printer paper. If you don’t have watercolor paper, you can still use regular printer paper but be aware that the paint may bleed through and the colors won’t be as vibrant.
- Pick your colors carefully. When choosing watercolors, it’s best to stay within a limited color palette so that your card doesn’t end up looking muddy. A good rule of thumb is to choose one light color, one dark color, and one mid-tone color.
- Get organized before you start painting. Have all of your supplies ready to go before you start painting so that you don’t have to stop in the middle of your creative process to look for something. This includes having a cup of water handy for rinsing out your brush between colors, as well as some paper towels nearby for blotting excess paint off of your brush or card surface.
- Paint in thin layers. Watercolors are transparent by nature, so try not to overdo it with the paint! It’s better to build up color slowly in multiple thin layers than it is to try and achieve full coverage in one thick layer. Not only will this help prevent muddiness, but it will also make drying time shorter since less paint equals less moisture on the paper surface.
- Let each layer dry completely before adding another. This is an important step that many people overlook, but it makes all the difference in achieving smooth, even layers of color. If one layer is still wet when you add another on top, they will blend together and become murky. So be patient, and let each layer dry completely before moving on.
- Don’t be afraid to experiment! Watercolors are very forgiving, so if you make a mistake, simply wet your brush and pick up some more pigment to correct it. And remember, there’s no such thing as perfect – embrace any imperfections as part of the charm of handmade cards!
How Do You Make Easy Watercolor Cards?
Watercolor cards are a beautiful and unique way to send a card, but they can seem daunting to make. Here is a simple guide to making easy watercolor cards!
- Begin by choosing your watercolor paper. This paper is specially made to absorb water without warping or buckling, so it’s perfect for painting. You can find it at most craft stores.
- Once you have your paper, decide what design you want to paint. A simple design will be easier to execute than a complex one. Consider using stencils or stamps to create an outline for your painting.
- Choose your watercolors. Watercolor sets come in many different price points and quality levels, so choose the set that fits your budget and skill level best. For easy cards, try using just 2-3 colors so that you don’t get overwhelmed.
- To paint your design, first, wet your brush with clean water. Then add color to your brush from the palette and begin painting within the lines of your stencil or stamp (if using). Work slowly and methodically until you’ve filled in the entire design. Allow the paint to dry completely before moving on to the next step.
- Once the paint is dry, you can add embellishments like sequins, gems, or glitter glue if desired. Then write a message on the inside of the card and sign your name on the back before sending it off!
How Do You Fold Watercolor Paper for Cards?
If you’re looking to add a personal touch to your holiday cards this year, watercolor paper is a great option! Here’s a step-by-step guide to folding your own watercolor paper cards:
- Start with a sheet of watercolor paper that is twice the size of your finished card. Fold the paper in half width-wise so that you have a crease down the middle.
- Next, fold the paper in half again length-wise. This time, open up the folds so that you have four equal sections.
- Take one corner of the top section and fold it down to meet the bottom edge of the section below it. Repeat with the other three corners.
- Fold each side in towards the center, making sure that the folds are about 1/2″ from the edge of the paper. Once all four sides are folded, turn the paper over and repeat on the other side.
- Now it’s time to start folding your card! Start by folding one side in towards the center, making sure that your folds are nice and even.
How to Paint Loose Watercolor Landscapes for Greeting Cards?
Watercolor landscapes are a beautiful and unique way to create greeting cards. By painting loosely, you can add your own personal style and touch to each card. Plus, loose watercolor landscapes are perfect for any occasion!
Here’s how to get started:
- Begin by sketching out your landscape scene on watercolor paper. Use light pencil strokes so that they’re easy to erase later.
- Next, start painting in the sky with blue or other light-colored paints. Work from the top of the page down, letting the colors blend together as you go.
- Once the sky is complete, begin adding in the middle ground elements like mountains, trees, and hills. Again, use light colors and paint from top to bottom.
- Finally, add in the foreground elements like flowers, grasses, and rocks. Use darker colors for these areas and be sure to paint them last so that they don’t get lost in the background scenery.
- Allow your paintings to dry completely before erasing any remaining pencil lines. Then sign your name on the front of each card and add a personal message inside if desired!
Watercolor Birthday Card for Dad
Happy Father’s Day, everyone! Today I’m sharing a watercolor birthday card that I made for my dad. This is a really simple card to make and it turned out so beautiful!
I started by painting a piece of watercolor paper with some blue and green paint. Once that was dry, I added some white paint to create the clouds. Then I used a black Sharpie to draw in the mountains.
For the inside of the card, I simply wrote “Happy Birthday, Dad!” in black ink. That’s it! This card is so easy to make but it looks like you put a lot of effort into it.
If you’re looking for a last-minute Father’s Day gift, this card is perfect! Or if you’re just looking for a pretty watercolor card to send to someone special, this would be perfect for that too.
Conclusion
In this post, the author shows us how to make a beautiful watercolor birthday card. The supplies you’ll need are watercolors, a paintbrush, white paper, scissors, and a black pen. First, you’ll want to paint a colorful background on your white paper.
Once that’s dry, cut out a rectangle in the middle of the paper. On this rectangle, write “Happy Birthday” with your black pen. Now it’s time to decorate the rest of the card!
You can use whatever colors and designs you like – get creative! Once you’re finished, your card is ready to be sent off to someone special.

