If you’ve recently painted your ceiling and it looks patchy, there are a few reasons why this may be happening. First, it’s important to make sure that you’ve properly prepared the surface before painting. This …
Written by: Jayden Martin
Published on:
If you’ve recently painted your ceiling and it looks patchy, there are a few reasons why this may be happening. First, it’s important to make sure that you’ve properly prepared the surface before painting. This means sanding down any rough spots and making sure that the surface is clean and free of any debris. Once you’ve done this, you should apply a primer before painting.
This will help to create a smooth and even surface. If you’ve skipped this step, it’s likely that the paint will be applied unevenly, resulting in a patchy finish. Another reason why your ceiling may look patchy after painting is if you’ve used the wrong type of paint. For ceilings, it’s best to use a flat or matte paint. This type of paint won’t reflect light, which can make imperfections more visible. If you’ve used paint with a glossy finish, you may be able to see every imperfection on the surface. To avoid this, be sure to use flat or matte paint on your ceiling.
After you paint a ceiling, it’s not unusual for the paint to look patchy. This is usually caused by an uneven surface, which can be fixed by sanding the ceiling before you paint. If you don’t sand the ceiling before you paint, the paint will likely not adhere properly and will start to chip and flake off.
If your ceiling paint job looks patchy, there are a few potential causes and a few ways to fix them. One common cause of patchy ceiling paint is poor surface preparation. If you didn’t properly clean and sand the surface before painting, the paint may not have been able to adhere evenly. Another possibility is that the paint you used wasn’t meant for ceilings.
Some paints are formulated specifically for use on ceilings, so using a different type of paint may be the reason your paint job looks patchy. If surface preparation is the issue, the fix is simple: just sand the surface again and repaint. If you’re using the wrong type of paint, however, you’ll need to remove the old paint and start over with ceiling-specific paint.
Either way, the key to a good-looking ceiling paint job is in preparation. Make sure you clean and sand the surface thoroughly before painting, and use paint that’s meant for use on ceilings, and your paint job should turn out looking great.
Why does my ceiling go patchy after painting?
If you’ve ever painted a ceiling, you know that it can be a bit of a messy process. But what happens if, after all that work, your ceiling starts to develop patches of color? It can be frustrating, but there are a few reasons why this happens. One reason is that the paint itself may be of poor quality. If you’re using cheap paint, it’s more likely to start developing patches over time.
The other reason is that the surface itself may not be smooth. If your ceiling has a lot of texture, the paint is more likely to start flaking off in patches. If you want to avoid this problem, make sure to use good-quality paint and smooth out the surface of your ceiling before painting.
How do you paint a ceiling without it being patchy?
If you want to avoid a patchy ceiling, there are a few things you can do. First, make sure you sand the ceiling before you start painting. This will help to create a smooth surface for the paint to adhere to. Second, use a primer before you paint. This will help to create an even base for the paint to go on. Finally, use good-quality paint. This will help to create a smooth, even finish.
How do you fix a streaky painted ceiling?
If your ceiling is looking streaky, there are a few possible causes and solutions. First, check to see if the paint is actually dry. If it’s not, give it more time to dry completely. It’s also possible that the paint was applied too thin, causing streaks.
In this case, you’ll need to apply another coat of paint, making sure to evenly distribute the paint. Finally, if the problem is with the paint itself, you may need to switch to a different brand or type of paint. If you’re not sure what the problem is, consult a professional painter for
Painting ceilings problems
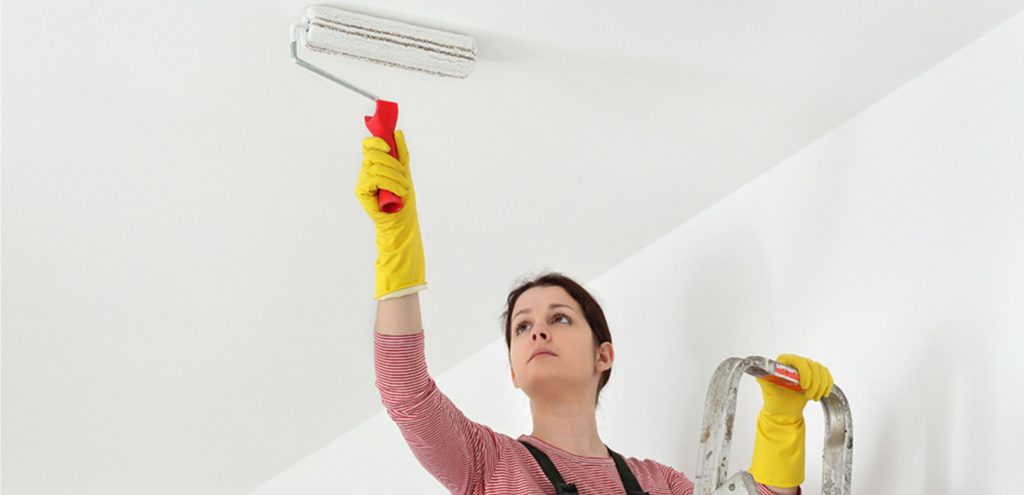
Painting ceilings can be a real pain – literally. Reaching up to paint a ceiling can leave you with aching muscles and a headache. But there are a few ways to make the job a little easier. First, consider using a roller extension pole.
This will help you reach the ceiling without having to use a ladder. Second, use a good-quality roller. A cheap roller will likely leave behind lint and streaks. Third, paint in sections. This will help you avoid missed spots and uneven coverage.
Finally, take your time. Rushing through the job will only make it harder in the long run. If you follow these tips, painting your ceiling should be a breeze!
How to stop patchy paint when using a roller
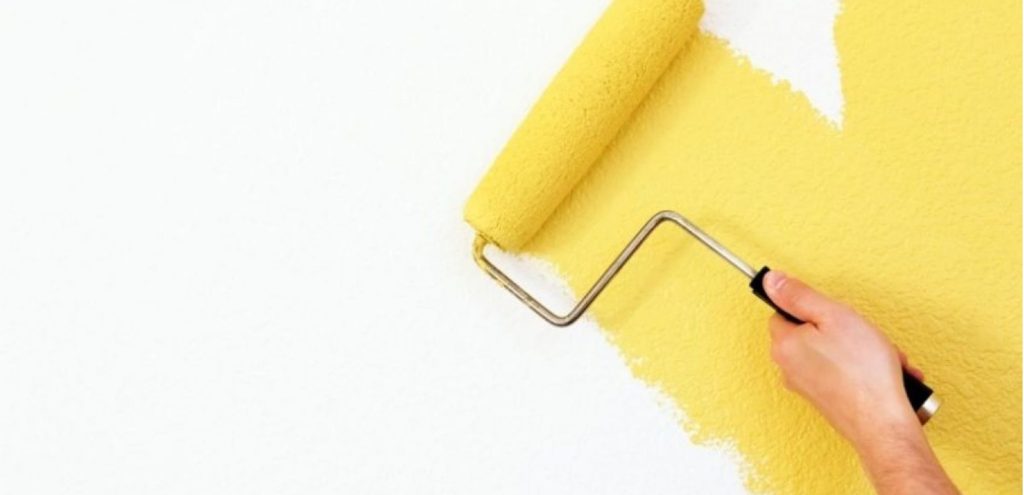
If you’ve ever had the frustrating experience of trying to paint a wall with a roller, only to end up with a patchy, uneven finish, you know how frustrating it can be. There are a few things you can do to avoid this problem and achieve a smooth, professional-looking finish. First, make sure you have the right type of roller for the job.
If you’re painting a textured surface, use a roller with a thicker nap. For smooth surfaces, a thinner nap will do the trick. Second, before you start painting, “prime” the roller by dipping it in the paint and then rolling it out onto a sheet of newspaper. This will help to evenly distribute the paint and avoid any streaks. Finally, when you’re painting, use long, even strokes and don’t apply too much pressure.
Once you’ve finished a section, go back over it with a light touch to even out any areas that may have too much paint. With these tips, you’ll be able to avoid patchy paint and achieve a smooth, professional-looking finish.
It’s frustrating when you put in the time and effort to paint a room in your home, only to find that the end result is still patchy and uneven. If you’re wondering why your paint job isn’t turning out as planned, it could be because you’re not using enough paint.
Most surfaces require at least four coats of paint to achieve even coverage and a smooth finish. If you’re only applying two or three coats, it’s no wonder the end result is still patchy. When painting, be sure to use enough paint to fully cover the surface you’re working on. It may take a little extra time and effort, but the end result will be worth it.
How to paint over a patchy ceiling
A patchy ceiling can be a real eyesore, and if you’re not careful, painting over it can make the problem even worse. Here’s how to paint over a patchy ceiling the right way:
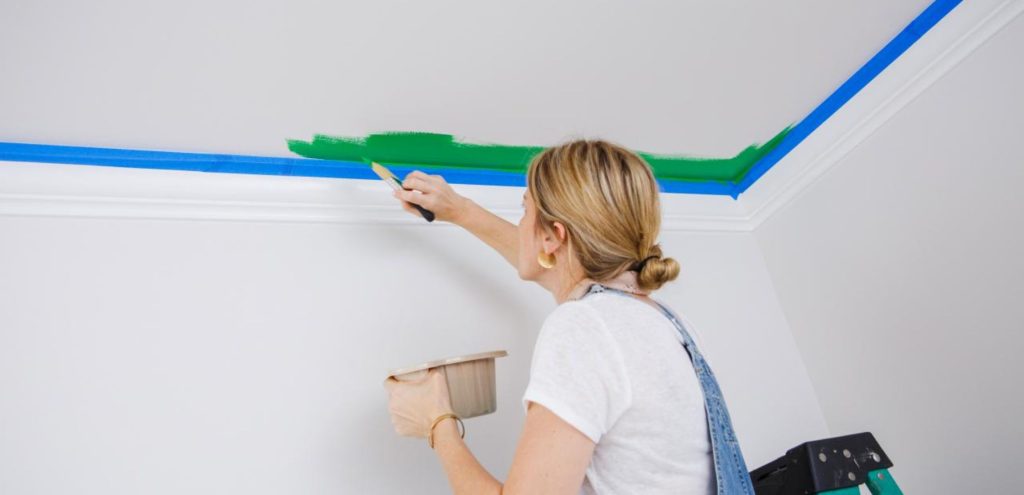
Start by cleaning the ceiling. Use a vacuum with a soft brush attachment to remove any dust or cobwebs. Then, wash the ceiling with a mild soap and water solution.
Once the ceiling is clean, inspect it for any cracks or holes. These should be patched up with spackle or joint compound before you start painting.
Next, apply a primer specifically designed for ceilings. This will help to even out the surface and create a better foundation for your paint.
Once the primer is dry, you’re ready to paint. Start by painting the edges of the ceiling, then work your way in with a roller. Use a light, even coat to avoid creating any new patches.
With these tips, you can paint over a patchy ceiling and create a smooth, professional-looking finish.
Conclusion
After painting your ceiling, you may notice that the paint looks patchy. This is usually caused by not using enough paint, or not applying the paint evenly. To fix this, you will need to apply another coat of paint, making sure to use enough paint and to apply it evenly.
Jayden Martin is a talented individual who excels in multiple creative domains. As a color expert, painter, and DIY hobbyist, Jayden possesses a deep understanding of color theory and its application in various artistic endeavors.
With a keen eye for aesthetics and a knack for DIY projects, Jayden constantly explores new techniques and mediums, pushing the boundaries of their artistic abilities.