Popcorn ceilings, popular from the 1950s to the 1990s, were favored by builders for their ability to conceal imperfections and speed up the construction process.
While many homeowners today choose to remove popcorn ceilings, the process can be expensive, messy, and potentially hazardous, especially if the ceiling contains asbestos.
Fortunately, there is a cost-effective and efficient alternative: painting the popcorn ceiling and you can use these best practices and techniques for achieving a beautifully painted popcorn ceiling.
Preparation
Before embarking on the painting process, it is crucial to take the necessary precautions and prepare the room properly. Here are the key steps:
- Protect the room: Cover furniture and floors with drop cloths to prevent paint splatters. Use plastic sheeting and painter’s tape to shield walls and protect ceiling fixtures.
- Dust and clean the ceiling: Remove any heavy dust and cobwebs from the popcorn ceiling using a microfiber duster or a vacuum cleaner. Ensure the surface is clean and free of debris before painting.

Choosing the Right Paint
Selecting the appropriate paint is essential for achieving a flawless finish on a popcorn ceiling. Consider the following factors:
- Acrylic latex paint: Opt for an acrylic latex paint, which is recommended for its durability and ease of application. This type of paint adheres well to textured surfaces and offers excellent coverage.
- Flat sheen: Choose a flat sheen for the ceiling to reduce light reflection and help conceal minor imperfections. The flat finish is the traditional choice for ceilings.
Painting Techniques
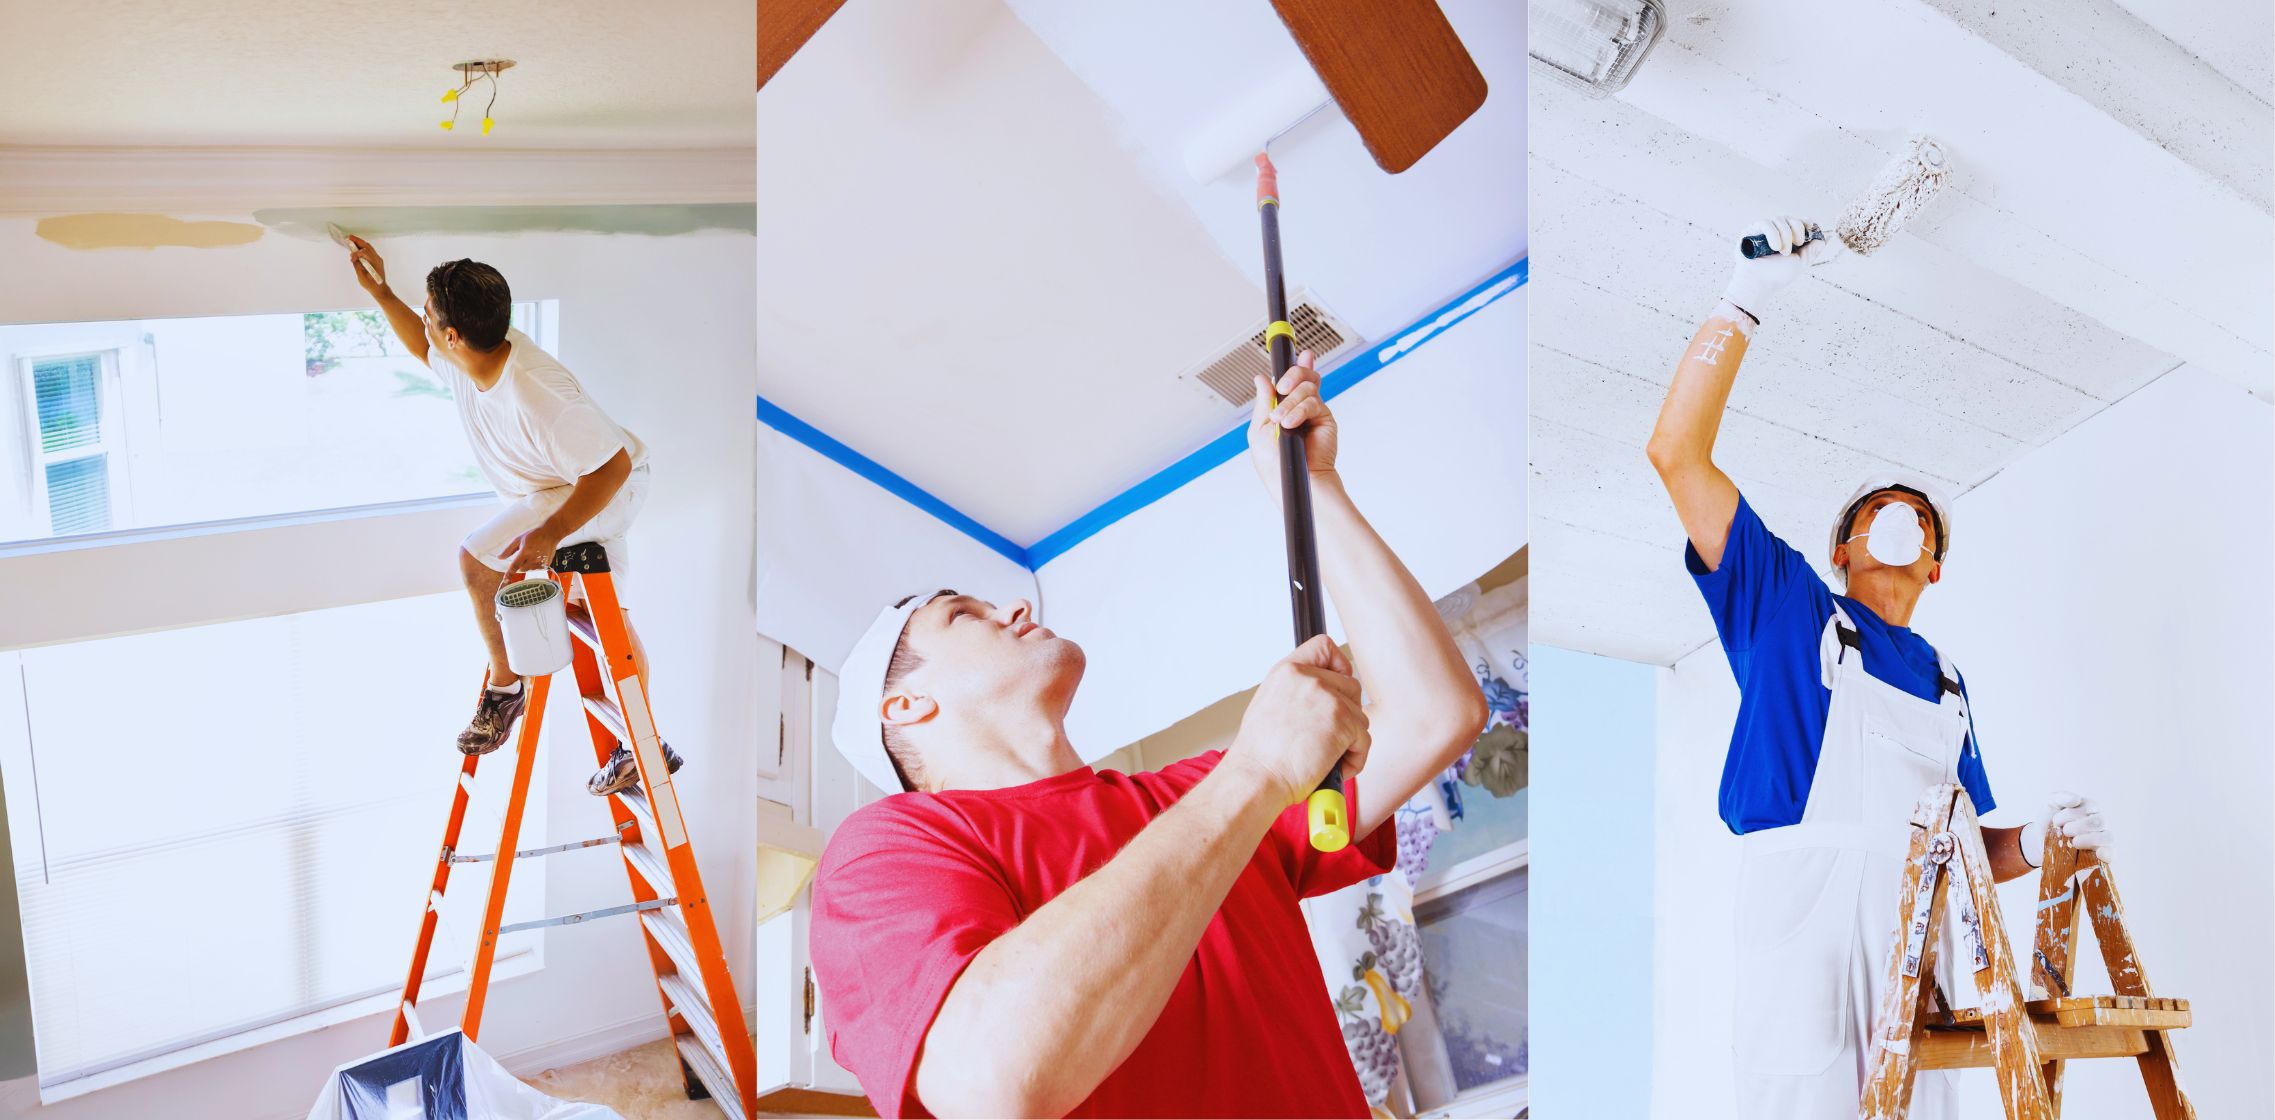
Now that the preparation is complete and the paint is chosen, it’s time to tackle the painting process itself. Follow these techniques for optimal results:
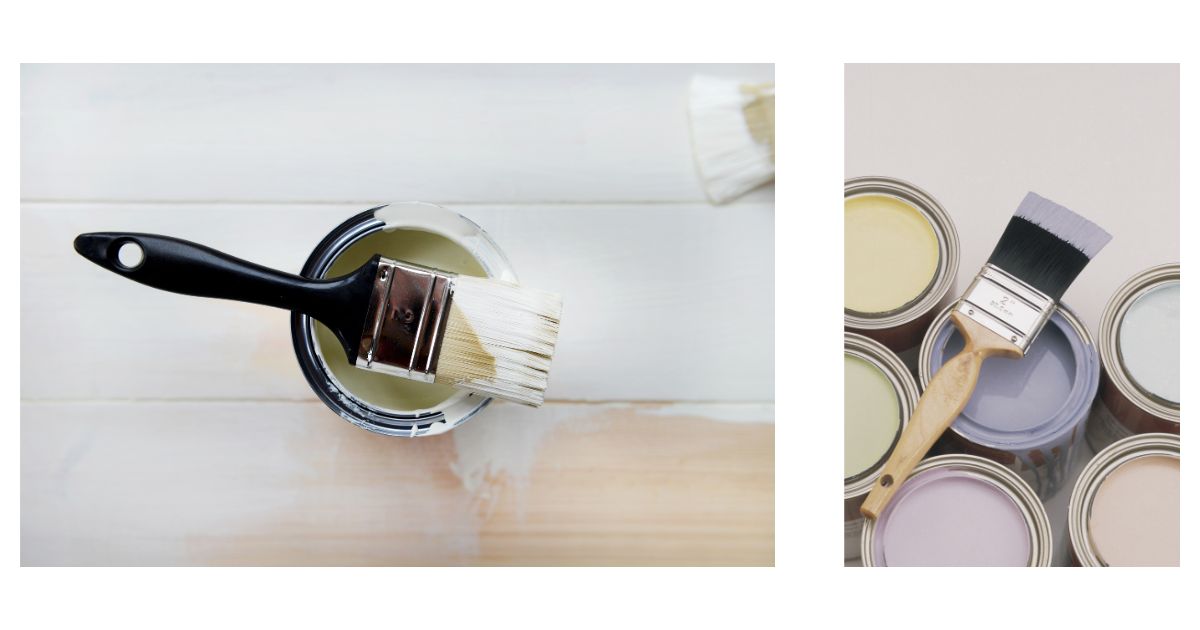
- Cutting-in: Use an angled brush to carefully paint the edges and corners of the ceiling. This technique is known as “cutting-in” and ensures clean lines and precise coverage in these areas.
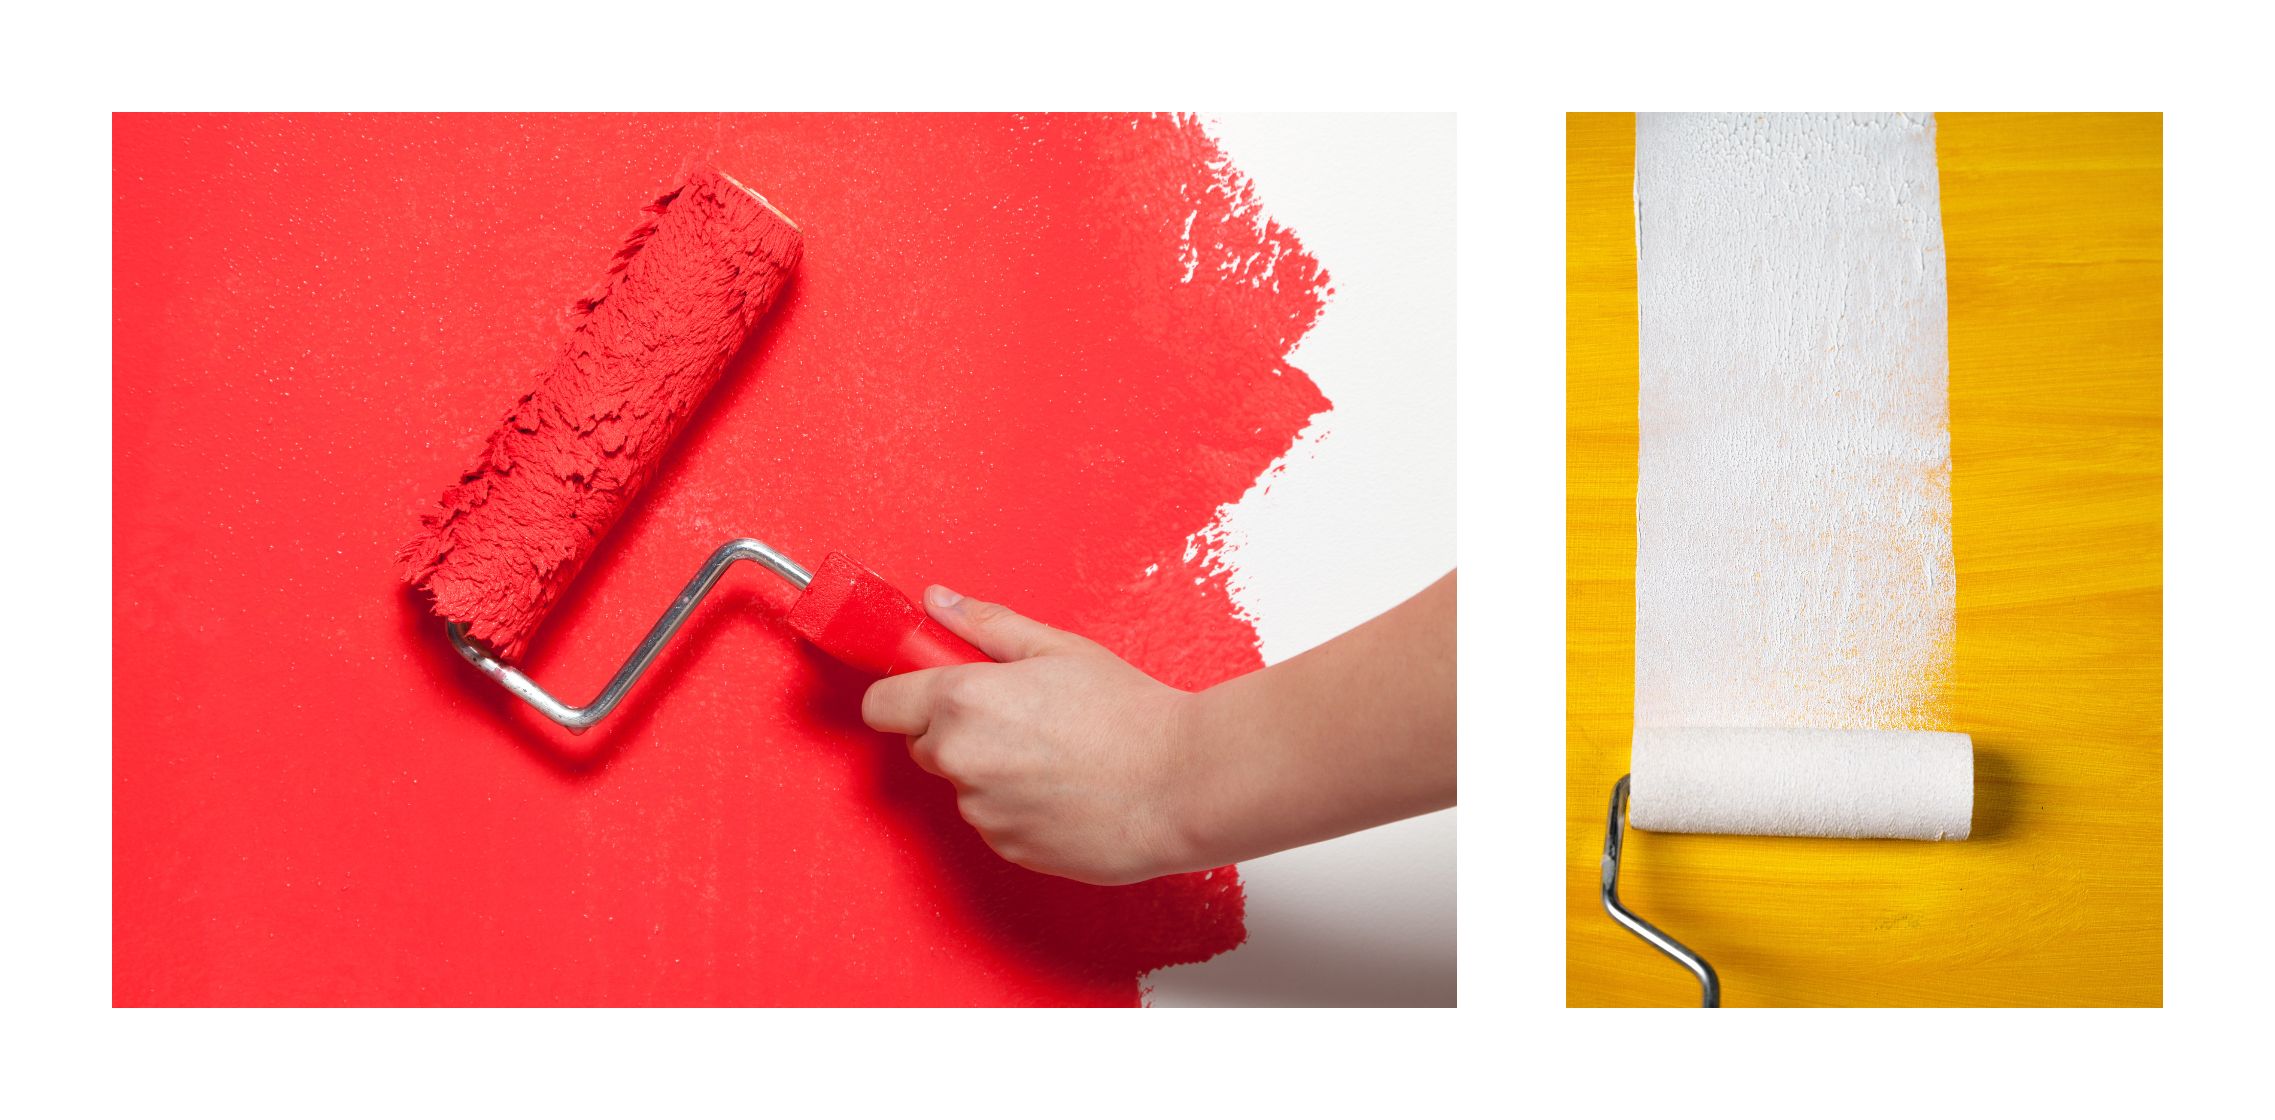
- Roller application: For the main area of the ceiling, use a roller with a thick nap specifically designed for heavily textured surfaces. Apply the paint in sections, working methodically across the ceiling.
- Multiple coats: Apply one full coat of paint to the popcorn ceiling, ensuring even coverage. If necessary, allow the first coat to dry completely and apply a second coat in a direction perpendicular to the first. This will ensure a uniform and professional-looking finish.
Professional vs. DIY
While painting a popcorn ceiling can be a rewarding DIY project, it’s important to assess your own skills, time availability, and comfort level.
If you prefer to leave it to the professionals, hiring experienced painters ensures a high-quality finish and relieves you of the labor-intensive task.
Conclusion
Painting a popcorn ceiling offers a cost-effective and transformative solution to update and refresh the look of a room.
By following the proper preparation techniques, selecting the right paint, and employing the correct application methods, you can achieve a beautifully painted popcorn ceiling.


