Acrylic paint is a versatile medium that can be used on various surfaces, including plastic. Whether you’re a beginner or an experienced artist, learning how to properly seal acrylic paint on plastic is essential to protect your artwork and ensure its longevity.
In this blog post, we will provide you with a comprehensive guide on how to seal acrylic paint on plastic, including step-by-step instructions and useful tips.
Understanding the Compatibility of Acrylic Paint and Plastic
Acrylic paint and plastic are compatible, allowing you to achieve beautiful and durable results when painting on plastic surfaces. To ensure success, consider the following:
- Adhesion: Acrylic paint adheres well to most plastics, but using an acrylic primer can enhance adhesion, especially on porous plastics.
- Paint Selection: Choose acrylic paints specifically designed for plastic surfaces, as they offer better coverage and adhesion. Opt for non-toxic options for safety.
- Surface Preparation: Clean the plastic surface thoroughly to remove dirt and oils. Lightly sand the surface to create texture for better paint grip. Wipe away dust and debris with a damp cloth.
Preparing the Plastic Surface for Painting
Preparing the plastic surface before painting is really important for getting a good result. Here’s what you need to do:
- Clean the surface: Make sure the plastic surface is free of dirt, dust, grease, or oils. You can use a mild soap and water solution or a plastic cleaner. Rinse it off and let it dry completely.
- Sand the surface: Gently sand the plastic with fine-grit sandpaper. This creates a rough texture for the paint to stick to. Be careful not to damage the plastic. After sanding, wipe away any sanding residue with a damp cloth.
- Remove dust and debris: Use a damp cloth to wipe away any remaining dust or debris. This gives you a clean and smooth surface to paint on.
- Apply a primer (if needed): Depending on the type of plastic and the result you want, you may need to use a primer. An acrylic-based primer works well for better paint adhesion. Follow the instructions on the primer for how to apply it and how long it needs to dry.
- Let it dry: Before painting, make sure the surface is completely dry. Follow the drying times mentioned on the paint and primer labels. This ensures that the paint adheres well and gives you a smooth finish.
“Using above steps, you’ll prepare the plastic surface properly and get the best results when you start painting.“
Painting Plastic with Acrylic Paint
When painting plastic with acrylic paint, there are a few important considerations to keep in mind to achieve the best results. Here’s a guide on selecting suitable acrylic paints for plastic, applying thin layers of paint, and some painting techniques and tips:
- Selecting suitable acrylic paints for plastic:
- Look for acrylic paints specifically formulated for use on plastic surfaces. These paints have better adhesion and durability.
- Opt for non-toxic acrylic paints to ensure safety, especially if you’re painting plastic items that come into contact with food or skin.
- Applying thin layers of paint:
- It’s best to apply multiple thin layers of paint rather than one thick layer. Thick layers can lead to cracking or peeling.
- Allow each layer to dry completely before applying the next one. Follow the drying times mentioned on the paint label.
- Painting techniques and tips:
- Use a soft-bristle brush or a foam brush for smoother application on plastic surfaces.
- Apply the paint in even and smooth strokes, moving in one direction if possible.
- Consider using a spray paint specifically designed for plastic surfaces, as it can provide an even and smooth finish.
- Achieving desired results:
- If you want a solid and opaque color, apply a white or light-colored base coat before applying the desired color.
- Experiment with different techniques such as stippling, dry brushing, or sponging to create texture or special effects.
- Consider using paint markers or pens for more precise details or intricate designs on plastic surfaces.
The Importance of Sealing Acrylic Paint on Plastic
Sealing acrylic paint on plastic is crucial for protecting the artwork and enhancing its appearance. Here are the key advantages:
- Protection: Sealing prevents dirt, dust, and smudging, keeping the artwork clean and intact.
- Color vibrancy: Sealants enhance color vibrancy, making the artwork more visually appealing.
- Prevents chipping: Sealing prevents chipping or flaking of the paint, ensuring durability.
- Long-lasting: Sealing provides long-lasting protection against fading and wear.
- Easy maintenance: Sealed surfaces are easier to clean and maintain.
Different Methods to Seal Acrylic Paint on Plastic
There are different methods to seal acrylic paint on plastic. Here are two popular options:
Clear acrylic sealer
Clear acrylic sealers are available in spray cans and provide a durable and long-lasting protective layer. They are easy to apply and offer excellent coverage. Follow the instructions on the sealer can for proper application and drying times.
Acrylic varnish
Acrylic varnish comes in both aerosol sprays and brush-on bottles. It provides a protective coating and enhances the appearance of the paint. Choose a varnish specifically designed for plastic surfaces. Apply it evenly using a brush or by spraying in light, even coats. Allow each layer to dry before applying subsequent coats.
Step-by-step guide for sealing acrylic paint on plastic
- Ensure the acrylic paint has fully dried before sealing. Refer to the drying times mentioned on the paint label.
- Choose your preferred sealing method—clear acrylic sealer or acrylic varnish.
- If using a clear acrylic sealer, shake the can well and hold it at a distance from the painted surface. Apply thin, even coats, moving the can in a sweeping motion. Allow each coat to dry before applying additional coats as needed.
- If using acrylic varnish, brush it on or spray it onto the painted surface. Apply thin, even layers, ensuring complete coverage. Allow each layer to dry before applying subsequent coats as desired.
- Follow the recommended drying times provided by the sealer or varnish manufacturer.
Additional Tips and Alternatives
Here are some additional tips and alternatives for sealing acrylic paint on plastic:
- Varnish: Use varnish to seal and protect acrylic paint on plastic. Apply it with a brush or spray it on in thin, even coats for a glossy or matte finish.
- Mod Podge: Mod Podge is a versatile decoupage glue that can also be used as a sealant for acrylic paint on plastic. Apply it with a brush for a protective layer and glossy finish.
- Hairspray and household items: In a pinch, you can use hairspray as a temporary sealant. Other household items like clear nail polish or epoxy resin can also be used, but follow the instructions and test on a small area first.
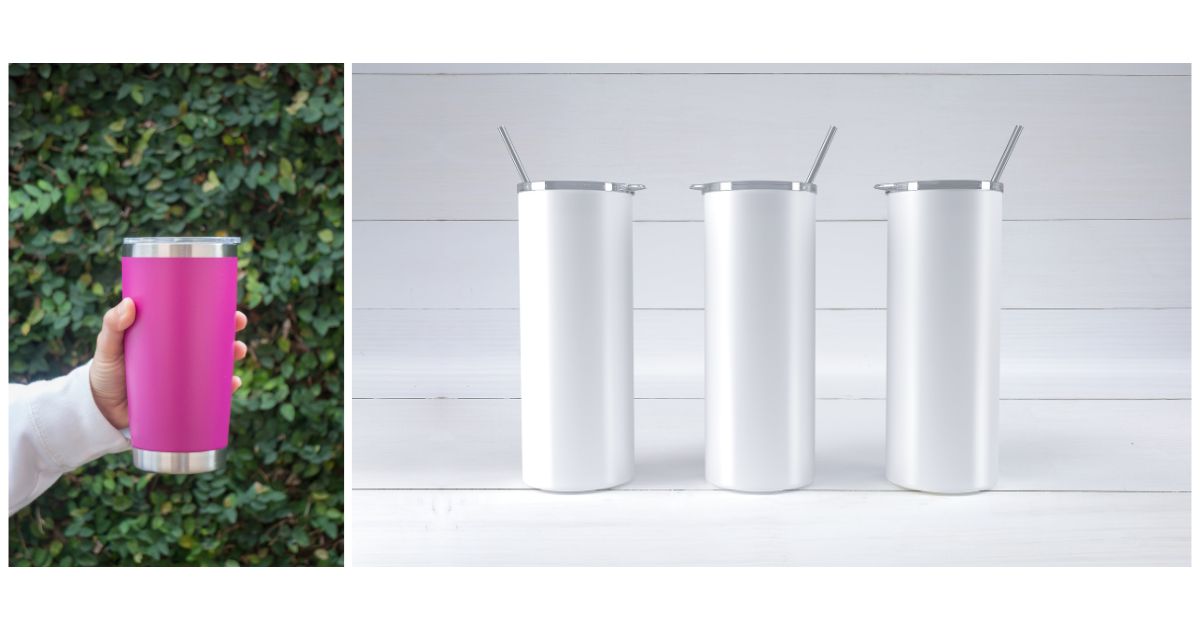
Sealing Acrylic Paint on Plastic Cups
Specific considerations for sealing painted plastic cups:
- Food-safe sealers: Ensure the sealer you choose is labeled food-safe, especially if the cups will come into contact with food or drinks. This ensures the sealant is non-toxic and won’t contaminate the contents of the cup.
- Handwashing: Keep in mind that sealed cups may be hand-washable only. Check the instructions provided by the sealer manufacturer to determine the recommended cleaning method.
Recommended sealers:
- Clear acrylic sealer: Choose a clear acrylic sealer specifically formulated for plastic surfaces. Look for one that is food-safe, non-toxic, and provides a durable finish. Follow the instructions on the sealer can for proper application and drying times.
- Mod Podge: Mod Podge can be used as a sealer for plastic cups. Use the dishwasher-safe Mod Podge variant to ensure the sealant withstands frequent washing. Apply it with a brush in thin, even coats, allowing each coat to dry completely before adding additional layers.
Step-by-step instructions for sealing acrylic paint on plastic cups:
- Let the painted design on the plastic cup dry completely. Refer to the drying times mentioned on the acrylic paint label.
- Choose your preferred sealer—clear acrylic sealer or Mod Podge (dishwasher-safe variant).
- If using a clear acrylic sealer, shake the can well and hold it at a distance from the cup. Apply thin, even coats, moving the can in a sweeping motion. Allow each coat to dry before applying additional coats as needed.
- If using Mod Podge, stir it gently to mix and avoid creating bubbles. Use a brush to apply a thin, even layer over the painted surface of the cup. Let it dry completely before adding additional coats. Apply multiple coats for better durability.
- Follow the recommended drying times provided by the sealer or Mod Podge manufacturer. Allow the cups to cure completely before using or washing them.
Sealing Acrylic Paint for Outdoor Use
To seal acrylic paint for outdoor use:
- Importance: Proper sealing protects artwork from weather, moisture, and UV damage.
- Suitable options: Clear acrylic sealer and polyurethane sealer are recommended.
- Application tips: Prepare the surface, follow manufacturer instructions, apply multiple thin coats, allow for proper drying and curing, and consider periodic reapplication.
Conclusion
Sealing acrylic paint on plastic is a crucial step to safeguard your artwork and maintain its beauty over time. By following the step-by-step instructions and utilizing the appropriate sealing methods, you can protect your acrylic paintings on plastic surfaces from damage, while enhancing their overall appearance. Experiment with different sealing options and find the one that suits your preferences and project requirements.

