Deciding whether to replace or repair your driveway can be a daunting and costly decision. However, there is an alternative that can give your old driveway a fresh and attractive look without breaking the bank – painting it!
Here are 5 simple steps to paint your driveway:
- Prepare and clean the surface.
- Repair any cracks or holes.
- Choose the right paint.
- Start painting.
- Allow the paint to dry completely.
Let’s see each step in details so you can DIY easily as well as list out all the items which you need before you start painting the driveway.
In this blog post, we will provide you with a detailed step-by-step guide on how to paint your driveway and transform it into a sleek and inviting entrance to your home.

What you need to paint Driveway?
To paint your driveway, you’ll need the following tools and supplies:
Tools:
- Broom
- Pressure washer
- Bucket
- Hose
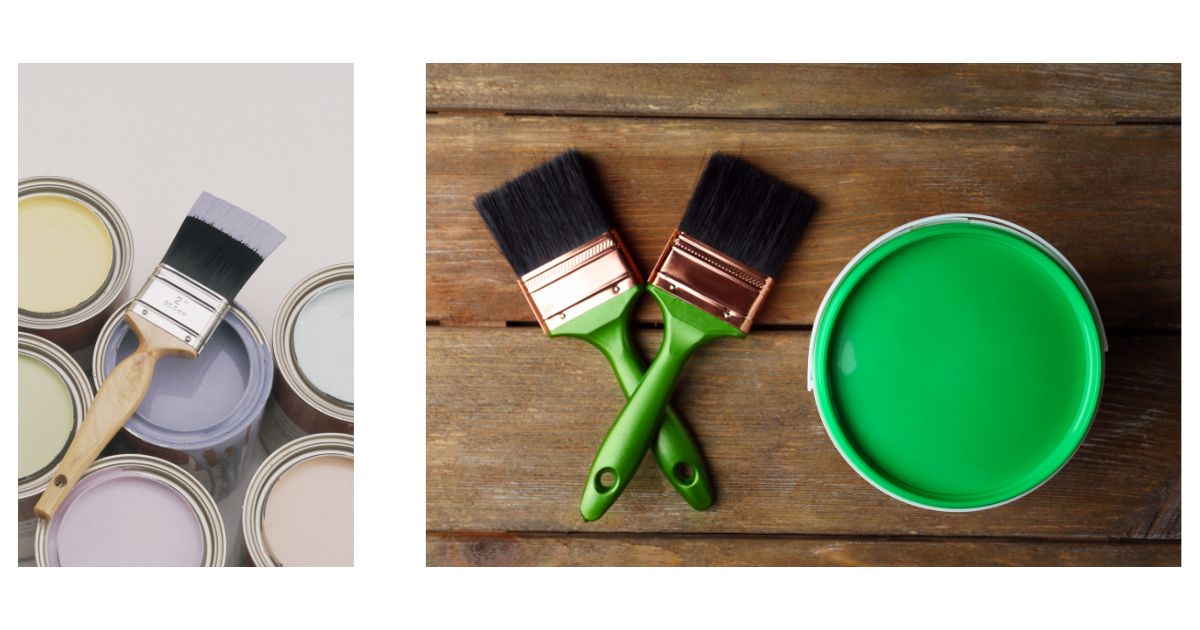
- Paint roller
- Paintbrush
- Gloves
Supplies:
- Oil and grease removing agent
- Warm water
- Concrete epoxy paint or coating
- Caulking agent
Please note that the time required for the project is approximately 2 days or more, primarily due to the drying time.
Step 1: Preparing for the Project
Before you start the painting process, there are a few preparations you need to make:
- Find alternative parking arrangements: You’ll need to park your vehicles elsewhere during the project, so make arrangements with friends or family, or utilize street parking if available.
Step 2: Cleaning Your Driveway
To ensure a smooth and professional-looking paint job, thorough cleaning is essential. Follow these steps:
- Remove debris: Use a broom to sweep away rocks, pebbles, leaves, dirt, and any other debris from your driveway.
- Pressure wash: Utilize a pressure washer to eliminate grime, bacteria, weeds, and stubborn stains. Allow the surface to dry completely before proceeding.
Step 3: Treating Stains and Cracks
Before painting, it’s crucial to address any stains or cracks on your driveway:
- Degreasing agent (optional): Mix 1/4 cup of trisodium phosphate cleaning agent (or a driveway-safe alternative) with 1 gallon of warm water. Apply the solution to grease stains and scrub the affected areas with a brush.
- Fill holes and cracks: Use an outdoor driveway caulking agent to fill in any holes or cracks. Follow the manufacturer’s instructions and allow sufficient drying time before moving on.
Step 4: Choosing and Mixing the Paint
Selecting the right paint for your driveway is important for achieving a long-lasting and aesthetically pleasing result:
- Epoxy paint: Most driveway paints available at home improvement stores are actually epoxy paints, which are latex acrylic products known for their durability. Read labels and directions carefully and choose a color that suits your preference.
- Mixing the paint: Some epoxy paints come premixed, while others require mixing with water. Make sure to follow the instructions provided by the manufacturer.
Step 5: Painting Your Driveway
Now it’s time to apply the paint and give your driveway a fresh new look:
- Start with the edges: Begin by using a smaller paintbrush to paint the edges of your driveway. Create a 6-inch “barrier” before moving on to the center.
- Use a roller for the rest: Switch to a paint roller to cover the remaining area of your driveway. Ensure even coverage and take care not to miss any spots.
Step 6: Applying a Second Coat (If Needed)
After the paint has dried completely, assess the appearance of your driveway:
- Determine if a second coat is necessary: Depending on the desired look and coverage, you may choose to apply a second coat of paint. Ensure the first coat is fully dry before proceeding.
- Repeat the painting process: Follow the same steps outlined in Step 5 to apply the second coat evenly.
Conclusion
Painting your driveway is a cost-effective way to revitalize its appearance and enhance your home’s curb appeal. By following this step-by-step guide, you can achieve a professional-looking paint job that will make your driveway look brand new.
Remember to exercise patience throughout the process, as proper drying times are crucial for a successful outcome. Now, get ready to enjoy your beautifully painted driveway and impress your guests with an inviting entrance to your home!

