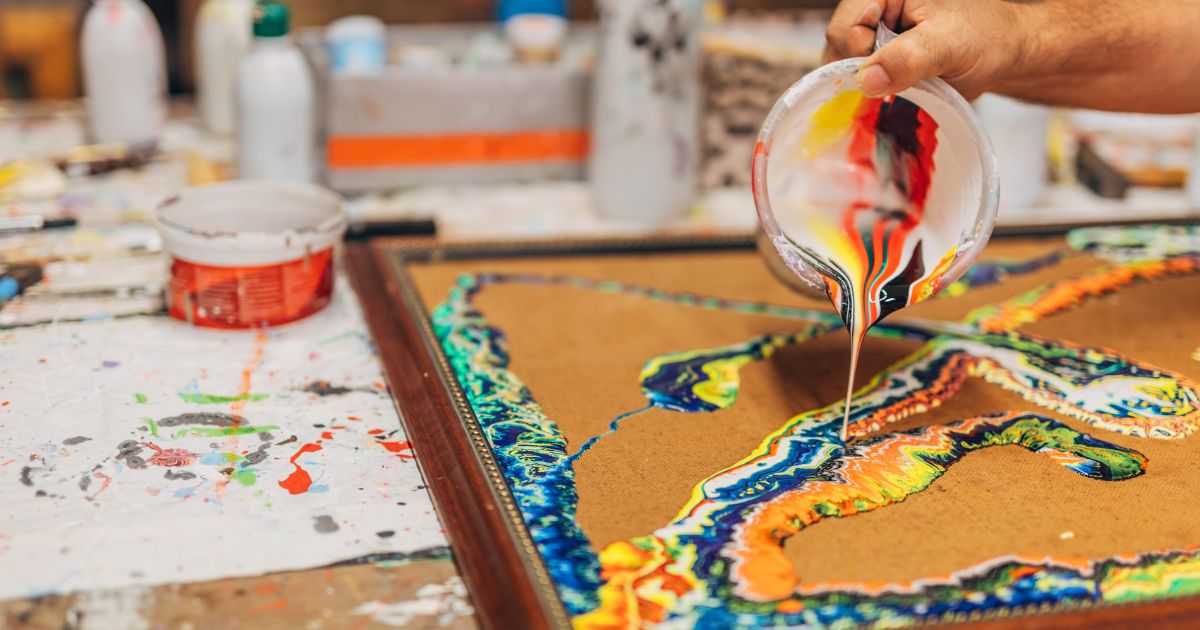
To do wet on-wet acrylic painting, you will need to have two colors of paint and a brush. First, wet your brush in water and then load it with one color of paint. Next, touch the brush to the canvas and begin to paint.
As you are painting, add the second color of paint to the brush. Continue painting until you are happy with the results.
- Pour your paint onto a palette or plate
- Wet your brush with water and then dip it into the paint
- Paint on your canvas in the desired area
- Continue adding paint to your brush and painting on the canvas until you are satisfied with the look
How to paint wet on wet with acrylic paint
Can You Do Wet-On-Wet Technique With Acrylic Paint?
Yes, you can definitely do the wet-on-wet technique with acrylic paint! This is a great way to create some interesting effects and textures in your painting. Here are a few tips to help you get started:
- Use a water spray bottle to dampen your canvas before beginning to paint. This will help the paint spread more easily.
- Start with light colors and build up to darker shades.
This will prevent your dark colors from muddying up the lighter ones.
- Work in small sections so that the paint doesn’t have time to dry before you’ve had a chance to work with it.
- Experiment! Have fun exploring all the different ways you can use this technique.
What Can I Use for Wet-On-Wet Acrylic Paint?
There are a few different mediums that you can use with wet-on-wet acrylic paint to create different effects. Mediums can be added to the paint before or after applying it to the surface. Adding a medium to the paint before applying it will change the consistency of the paint and how it flows.
his can be useful for creating thinner layers of paint or for making textured effects. Some common wet-on-wet acrylic painting mediums are water, modeling paste, gels, and varnishes. You can also add a medium to the paint after it has been applied to the surface.
This can be used to create glazes or transparent effects over an existing layer of dry paint. Adding a wet medium on top of dry paint can also help blend colors together. Some common wet-on-dry acrylic painting mediums are water, alcohol, and varnishes.
What Do You Need for Wet-On-Wet Painting?
When it comes to painting, the term “wet-on-wet” refers to a technique in which paint is applied to a surface that is already wet. This can be done by using a brush that is dipped in water before being loaded with paint, or by spraying the surface with water before painting. Wet-on-wet painting can be used to create interesting effects and textures, and it’s a great way to add color to any project.
In order to successfully execute a wet-on-wet painting technique, you’ll need the following supplies: Paint: Of course, you’ll need some paint! Any type of paint will work for this technique, so choose whatever colors you like.
Water: Water is essential for wet-on-wet painting. Be sure to have plenty on hand so that you can keep your brush or sprayer saturated. Brush or Sprayer: A brush or sprayer is necessary for applying the paint to the surface.
If using a brush, make sure it’s one that holds a lot of liquid so that it doesn’t dry out too quickly. Surface: The surface you’re painting on must be wet in order for the wet-on-wet technique to work properly. You can either pre-wet it with water from a spray bottle or dip your brush in water before beginning to paint.
How Do You Blend Wet And Wet Acrylic Paint?
Acrylic paint is a fast-drying paint made of pigment suspended in acrylic polymer emulsion. Acrylic paints are water-soluble, but become water-resistant when dry. Depending on how much the paint is diluted with water, or modified with acrylic gels, mediums, or pastes, the finished acrylic painting can resemble a watercolor, a gouache, or an oil painting, or have its own unique characteristics not attainable with other media.
The main practical difference between most acrylics and oil paints is the inherent drying time. Oils allow for more time to blend colors and apply even glazes over underpaintings. This slow-drying aspect of oil can be seen as an advantage for certain techniques; however, it can also impede the artist’s ability to work quickly.
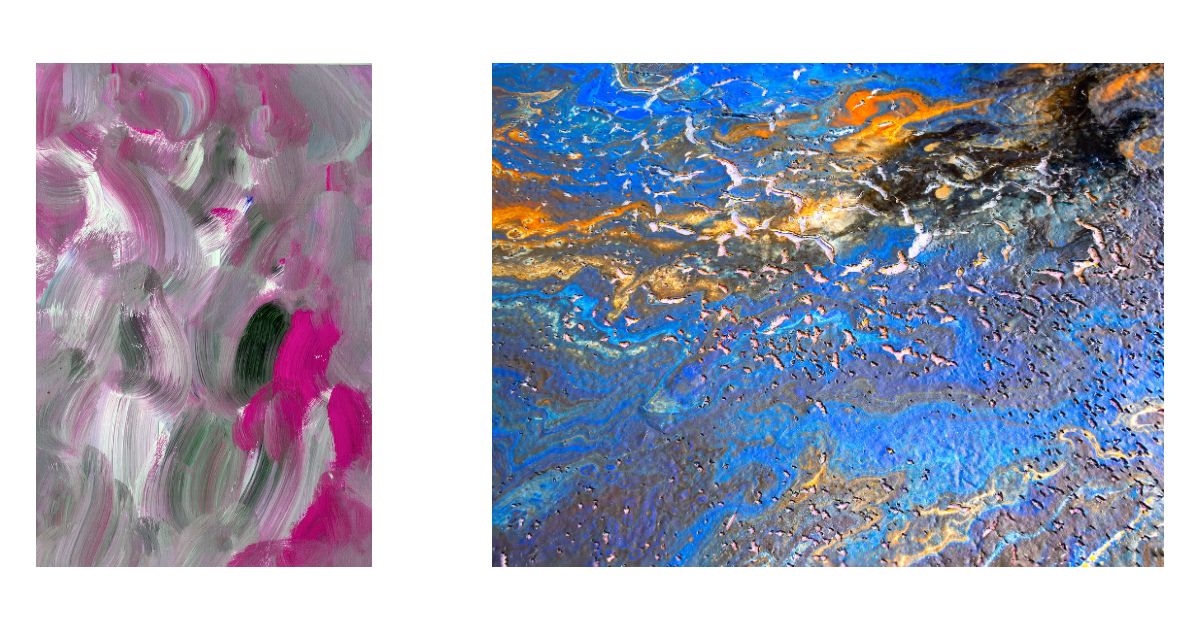
Acrylics have also proven themselves versatile for use in printmaking processes; monotypes and monoprints using brushes or rollers coated with paint can produce one-of-a-kind images on paper that take advantage of the transparency of this versatile medium When blending wet into wet there are two approaches that depend on whether a smooth gradient or textured finish is required: The first approach uses two colors side by side on your palette and mixes them together until you have achieved the desired color transitioning from one hue to another.
You then load your brush with this mixture and apply it to your painting surface. The second approach begins by applying one color to your painting surface in the shape/area you desire. While this first layer is still wet, you then add dabs of the second color around its edges.
Using a clean brush dampened with water (not too much), start at the edge where both colors meet and begin blending/smoothing outwards towards each individual color until they have merged together seamlessly.
How to Make Liquid White for Acrylic Painting
Assuming you want a recipe: Liquid white is a mixture of titanium dioxide and linseed oil, and is used as an underpainting for acrylic paintings. To make your own liquid white, mix 1 part titanium dioxide with 2 parts linseed oil.
Stir well to combine the ingredients, then transfer the mixture to a clean container with a tight-fitting lid. Store your liquid white in a cool, dark place, and it will keep indefinitely.
Wet on Wet Acrylic Painting Supplies
There are a few things you need to get started with wet-on-wet acrylic painting:
- Acrylic paint in the colors of your choice
- A container of water for rinsing your brush between color changes
- Paper towels or a rag for blotting excess moisture from your brush
- A painting surface – canvas, wood panel,
or heavy paper taped to a board is a good choice. Make sure whatever you use is properly primed for acrylic paint if you’re not using canvas.
Optional but helpful: a spray bottle filled with water for misting your painting surface and keeping the paint from drying out too quickly. Wet-on-wet acrylic painting is a technique where you apply each subsequent layer of paint while the previous layer is still wet. This allows the colors to blend together more seamlessly than if you waited for each layer to dry before adding the next.
To start, choose one color of paint and load your brush with a generous amount of it. Paint an area on your surface and then immediately rinse your brush in the water and blot it dry before moving on to another color. Repeat this process, working in small sections and rinsing/blotting often, until you’re happy with the result.
You can add as many colors as you like – just remember to keep rinsing that brush! If at any point your paint starts to dry out before you’re done blending, mist it lightly with water from your spray bottle (being careful not to saturate the surface) and continue working. Acrylics have come a long way since they were first introduced back in the 1950s, and today there are endless opportunities for experimentation with this versatile medium.
So grab some supplies and give the wet-on-wet acrylic painting a try – it’s sure to add some fun new dimension to your work!
Wet On-Wet Painting Technique
One of the most popular painting techniques is wet on wet. The term “on-wet” refers to applying paint to a surface that is already wet. This can be done by using a spray bottle to mist the paper before beginning to paint, or by applying water directly to the paper with a brush.
Wet on-wet painting is a great way to achieve smooth, even coverage of color. It also allows for easy blending of colors and soft edges between different areas of color. To get started with wet-on-wet painting, you will need some supplies including:
- Watercolor paper
- Watercolors
- Paintbrushes
- A container of water
- A spray bottle (optional) Begin by Prepping Your Paper:
- If you are using watercolor paper, it’s important to prep it before beginning your painting.
To do this, simply soak your paper in water for a few minutes until it is completely saturated. Then, place the damp paper on a flat surface and allow it to dry slightly so that it is still damp but not dripping wet. Next, Choose Your Colors: Once your paper is prepped and ready to go, it’s time to choose your colors!
Wet on-wet paintings look best when you use 2-3 colors maximum. Any more than that and your painting may start to look muddy. Time To Paint!
Now that you have everything you need, it’s time to start painting! Begin by adding small amounts of each color onto your palette. Then, using a damp brush, begin applying the paint onto your prepared paper in any design you like! Remember – since we are working with watercolors, there is no need to be perfect – let the colors flow and blend together however you like. Allow Your Painting To Dry Completely: Once you are happy with your painting, set it aside somewhere safe and allow it to dry completely. This could take a few hours or even overnight depending on how much paint was used and how thickly it was applied onto the paper. And that’s it – once dry, you will have created a beautiful piece of art using the wet-on-wet technique!
Conclusion
Acrylics are a versatile medium that can be used for a variety of painting techniques. One popular technique is wet-on-wet painting, which can create beautiful, soft blends of color. To paint wet-on-wet with acrylics, you will need to start with a wet canvas or paper.
You can either mist your surface with water or apply a wash of thinned paint. Then, working quickly, add your colors to the wet surface and blend them together using a brush or other tool. Wet-on-wet painting is a great way to achieve soft, blended colors in your paintings.
Give it a try the next time you pick up a brush!

