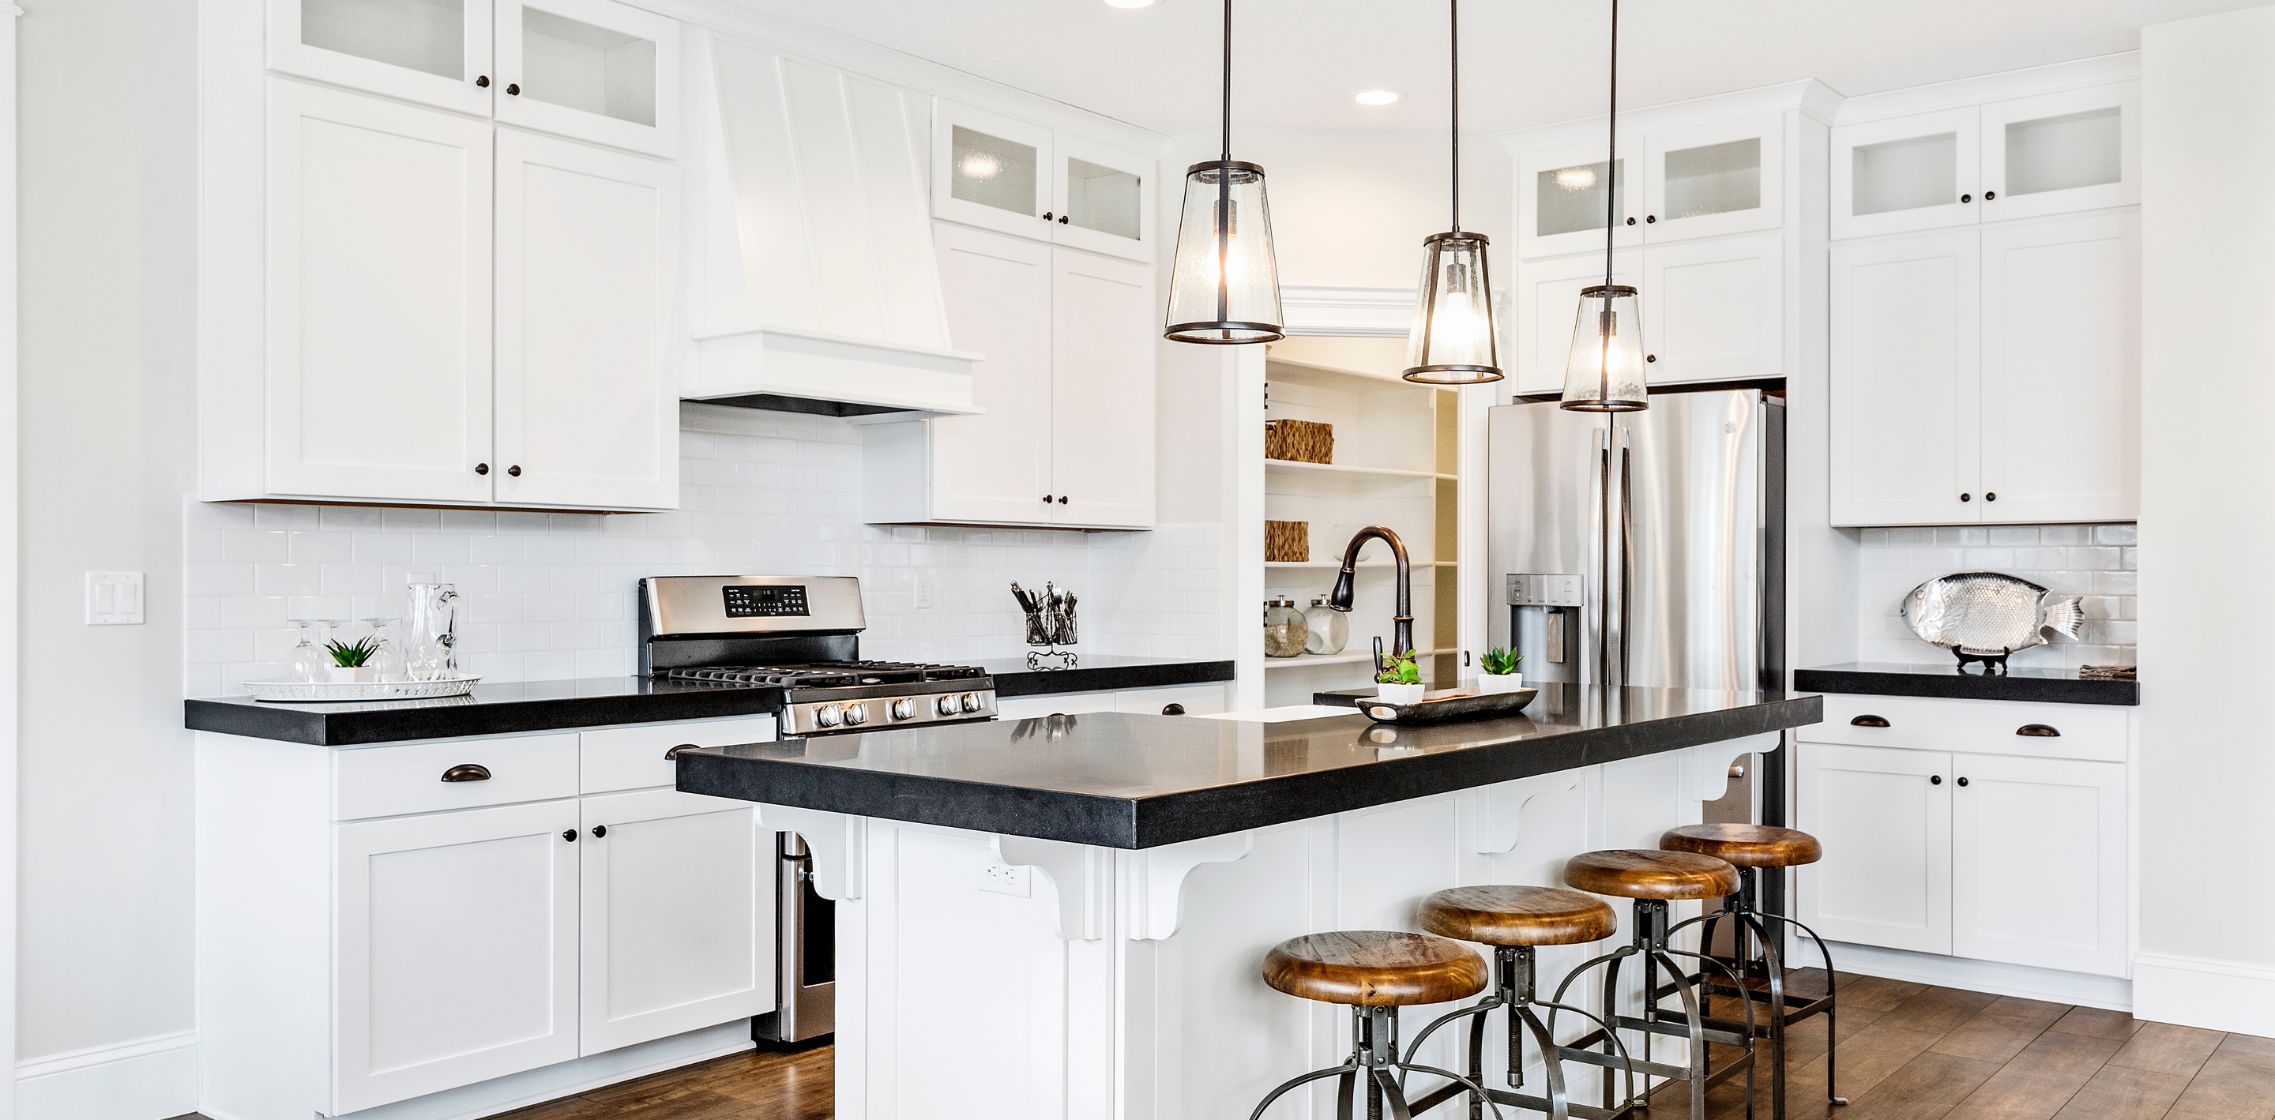
How to clean the walls before painting?
Preparing your walls properly before painting is crucial to achieve a flawless finish and ensure long-lasting results. One essential step in the preparation process is cleaning the walls thoroughly.
By removing dirt, grime, and stains, you create a clean canvas for your new paint to adhere to. In this blog post, we will provide you with a step-by-step guide on how to clean your walls effectively before painting, so you can achieve professional-looking results.
Step 1: Gather the Necessary Supplies
Before you begin cleaning your walls, gather the following supplies:
- Lukewarm water
- Mild soap or dish soap
- Cellulose sponge
- Clean, lint-free cloths or rags
Step 2: Remove Dust and Debris
Start by using a clean, dry cloth or duster to remove any loose dust and debris from the walls. This step will prevent these particles from mixing with the cleaning solution and potentially scratching the wall’s surface during the cleaning process.
Step 3: Prepare the Cleaning Solution
Fill a bucket with lukewarm water and add a small amount of mild soap or dish soap. Mix the solution gently until it creates a soapy mixture. Avoid using harsh chemicals or abrasive cleaners, as they can damage the paint or wall surface.
Step 4: Test a Small Area
Before cleaning the entire wall, it’s always a good idea to test the cleaning solution on a small, inconspicuous area. This test will ensure that the solution does not cause any adverse reactions or damage to the paint or wall material.
Step 5: Clean the Walls
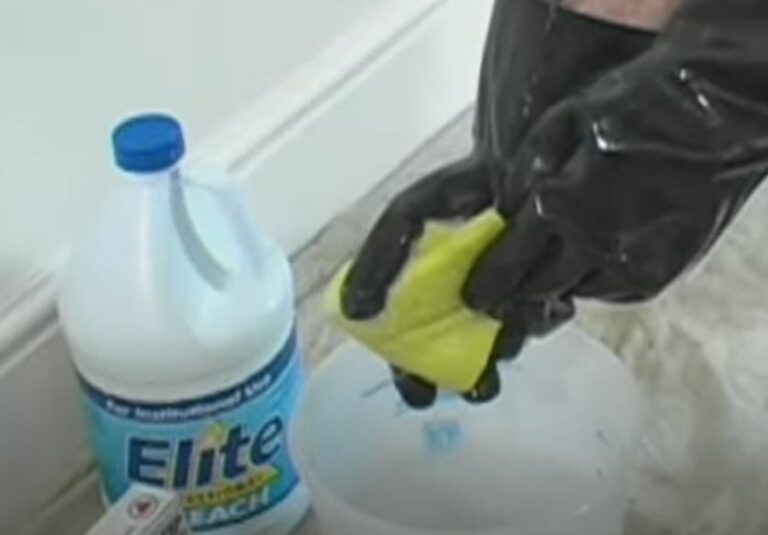
Dip a cellulose sponge or clean cloth into the soapy water solution. Wring out any excess liquid to avoid saturating the walls. Start from the top of the wall and work your way down, using gentle circular motions. Focus on one section at a time to ensure thorough cleaning.
Step 6: Pay Attention to Stubborn Stains
For stubborn stains that don’t come off with the soapy water solution, you can try using a mild cleaner specifically designed for walls. Follow the instructions on the cleaner and apply it directly to the stain. Gently scrub the stained area using a soft brush or sponge. Rinse the area thoroughly with clean water afterward.
Step 7: Rinse the Walls
After cleaning each section, rinse the walls with a slightly damp cellulose sponge or clean cloth to remove any residue from the cleaning solution. Make sure to change the water frequently to avoid spreading dirt or grime onto the walls.
Step 8: Dry the Walls
Once you have finished cleaning the walls, allow them to air dry completely. Ensure good ventilation in the room to speed up the drying process. Avoid painting on damp walls, as it can affect the adhesion and durability of the new paint.
Additional Tips
Taping
For a seamless paint job, use longer pieces of tape to minimize gaps where paint could seep through. Start in a corner and press the tape firmly against the trim in small sections. Use a clean putty knife to ensure the tape sticks securely for a clean paint line.
Drop Cloths
Protect your floors and furniture from paint drips by using drop cloths. Durable canvas drop cloths absorb spills, while plastic and paper drop cloths can be secured with painter’s tape to prevent sliding.
Priming
Priming is essential for achieving the desired color, sheen, and paint durability. Apply primer along trim and inside corners using a brush, then use a roller for the rest of the wall. Choose the appropriate nap thickness for your surface.
Caulking
Fill gaps between molding and walls with acrylic caulk after priming. Ensure the caulk is paintable and follow the instructions on the label. Cut the caulk tube tip, puncture the seal, and apply caulk along the crack. Smooth it with a damp finger and wipe away excess with a cloth.
Conclusion
Properly cleaning your walls before painting is a crucial step in ensuring a successful painting project. By following this step-by-step guide, you can effectively remove dirt, grime, and stains, creating a clean surface that allows your new paint to adhere properly.
Remember to gather the necessary supplies, test the cleaning solution, and clean the walls in a systematic manner. By dedicating time to this essential preparation step, you’ll be rewarded with professional-looking results and a beautifully painted space..

