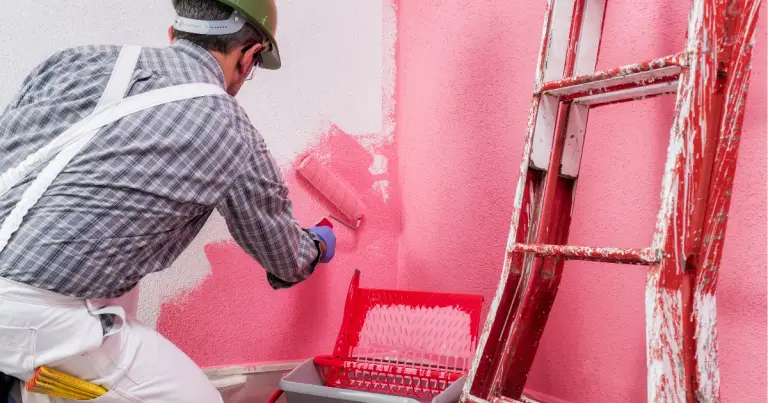
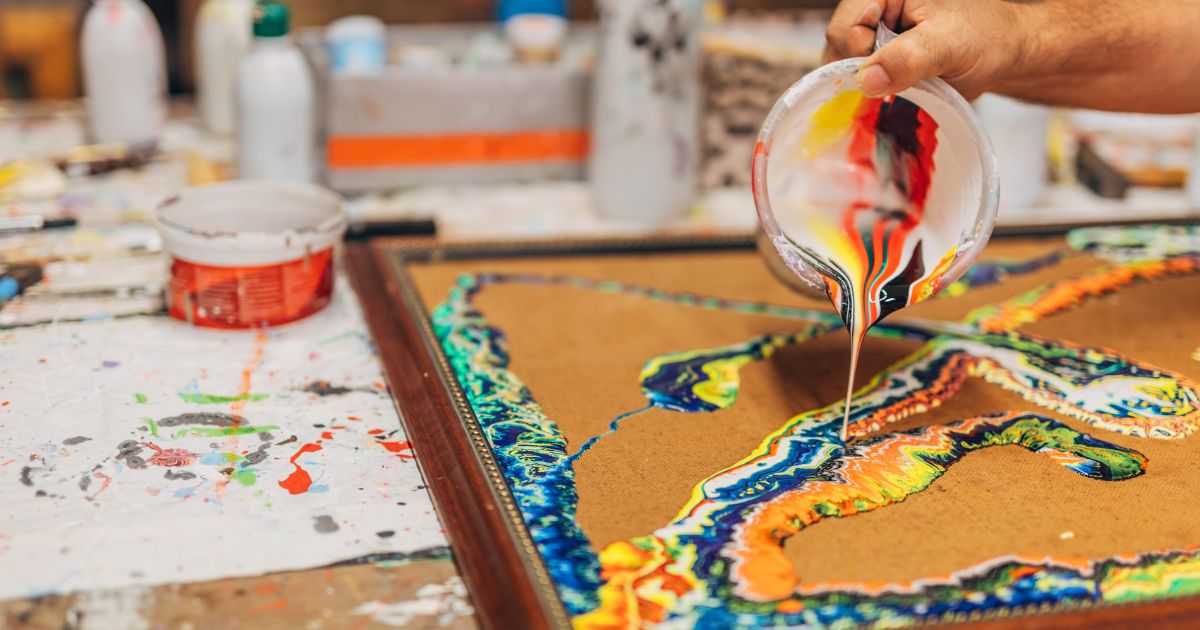
Yes, you can use acrylic paint to whitewash walls. The process is simple and doesn’t require any special equipment. Just mix the paint with water in a ratio of about 1:1 and apply it to the wall with a brush or roller.
- Begin by mixing your paint with water in a ratio of 1:1
- Next, apply the paint to your surface using a brush or roller
- Once the paint is applied, use a clean cloth to wipe away any excess paint
- Finally, allow the paint to dry completely before adding any additional coats
Color Wash Wood with Acrylic Paint
How to Color Wash Wood With Acrylic Paint
Acrylic paint is a versatile medium that can be used for a variety of painting techniques. One popular technique is color washing, which can add depth and dimension to your paintings. Color washing with acrylic paint is relatively simple and only requires a few supplies.
Begin by mixing your desired colors of acrylic paint with water in a ratio of 1:1. Once you have your colors mixed, apply the paint to your wood surface using a large brush. Work in small sections and brush the paint on in long strokes.
Immediately after applying the paint, use a clean cloth or paper towel to lightly wipe away the excess. This will leave behind a subtle wash of color that can add interest to your painting. experiment with different ratios of paint to water until you find the perfect consistency for your project.
And don’t be afraid to mix and match colors – the sky’s the limit!
How to Apply Whitewash Stain
Whitewash stains are a type of paint that is designed to create a weathered look on wood surfaces. The idea behind whitewashing is to give the wood a light coat of color that will highlight the grain and imperfections in the wood. This technique is often used on rustic or reclaimed wood furniture and can give your home a cozy, farmhouse feel.
To apply a whitewash stain, start by sanding down the piece of furniture you want to refinish. Once the surface is smooth, wipe it down with a damp cloth to remove any dust. Then, mix together equal parts of white paint and water in a bowl.
Use a brush or rag to apply the mixture to your furniture in long strokes, going with the grain of the wood. Let the first coat dry completely before adding another layer if you want a more intense color. For a more subtle look, stop after one coat.
Once you’re finished whitewashing, seal your furniture with a clear topcoat to protect it from wear and tear.
How to Whitewash Rough Sawn Wood
Rough-sawn wood has a beautiful, rustic look that can add character to any room. But sometimes you may want to lighten up the look of your rough-sawn wood without losing that rustic charm. Whitewashing is a great way to do this! Here’s how to whitewash rough-sawn wood:
- Start by sanding your rough-sawn wood with medium-grit sandpaper. This will help create a smooth surface for the paint to adhere to.
- Next, apply a primer specifically designed for use on bare wood. This will help the paint stick better and provide an even base for the whitewash color.
- Once the primer is dry, mix together equal parts of white latex paint and water in a bucket or container. Stir until the mixture is completely combined.
- Using a clean brush, apply the whitewash mixture evenly over the surface of the rough-sawn wood. Be sure to work in small sections so that it doesn’t dry before you have a chance to spread it around.
How to Whitewash Wood With Color
Whitewashing wood is a great way to add color without paint. It’s also a quick and easy project that anyone can do! Here’s how to whitewash wood with color:
- Begin by sanding the wood surface with medium-grit sandpaper. This will help the paint adhere better. Wipe away any dust with a damp cloth.
- Next, mix your paint and water together in a bucket (the ratio should be about 2 parts paint to 1 part water). Use a brush or sponge to apply the mixture evenly over the wood surface.
- Let the first coat of paint dry completely before adding additional coats, if desired. Once you’re happy with the coverage, let the final coat dry completely before sealing with a clear topcoat (this will help protect the color from fading).
How to Whitewash Dark Wood With Chalk Paint
Whitewashing dark wood can be a great way to brighten up a space and add some visual interest. Chalk paint is a great option for this project because it adheres well to wood and dries quickly. Plus, it’s easy to distress if you want a more rustic look.
Here’s how to whitewash dark wood with chalk paint:
- Start by sanding the wood surface with medium-grit sandpaper to rough it up and help the paint adhere better. Wipe away any dust with a damp cloth.
- Choose a light-colored chalk paint and apply it liberally to the wood surface using a brush or roller. Work in small sections and don’t worry about being perfect – the distressed look is part of the charm!
- Once the paint is dry, lightly sand over certain areas (like edges and raised details) to create a weathered appearance. You can also rub off some of the paint in spots for added character.
- Finish by sealing the whitewashed wood with a clear polyurethane sealer for protection against wear and tear.
How to Make Whitewash Paint
Whitewash paint is a type of paint made from a mixture of lime and water. It is often used to brighten up walls or ceilings that are in need of a fresh coat of paint. Whitewash paint is also known for its ability to resist mold and mildew.
Here are some tips on how to make your own whitewash paint:
- Start by mixing together 1 part lime with 2 parts water.
- Add 1/2 cup of salt to the mixture and stir until the salt has dissolved.
- Pour the mixture into a clean container with a lid and store it in a cool, dark place for 24 hours.
- After 24 hours, strain the mixture through a cheesecloth or coffee filter to remove any impurities.
- Pour the strained mixture into a clean container and add 1 gallon of water. Stir well to combine.
- Your whitewash paint is now ready to use!
How to White Wash Shiplap
If you’re looking to add a bit of country charm to your home, look no further than Shiplap! This type of wood paneling is perfect for creating that rustic farmhouse feel. And best of all, it’s easy to DIY.
In this tutorial, we’ll show you how to whitewash the shiplap to give it a beautiful distressed finish. To whitewash your shiplap, you’ll need:
- White paint (we used latex)
- Paintbrush
- Water hose
- Bucket
- Sponge
- Tarp or drop cloths (optional) First, set up your work area by laying down tarp or drop cloths.
Then, mix together your paint and water in a bucket according to the ratio recommended on the paint can. Next, use your paintbrush to apply the mixture onto the surface of the shiplap. Make sure to work in small sections so that the paint doesn’t dry before you have a chance to distress it.
To distress the paint, take your sponge and lightly dab at the wet paint. Don’t press too hard – you just want to create a slight indentation in the wood. Once you’ve gone over the entire surface, allow the paint to dry completely.
Finally, once the paint is dry, seal it with a clear top coat for extra protection against wear and tear. That’s it! You’ve now successfully whitewashed your shiplap!
What Kind of Paint Do You Use to Whitewash?
When whitewashing, you want to use paint that is white in color. You can either use an oil-based paint or latex paint. If using an oil-based paint, make sure that it is thinned down so that it will go on smoothly and evenly.
You don’t want the paint to be too thick as this will make the whitewash look uneven.
How Do You Make Acrylic White Wash?
There are a few different ways that you can make an acrylic whitewash. One way is to mix together equal parts of white paint and water, then apply it to your surface. Another way is to mix together a ratio of 2 parts paint to 1 part water, then add in a bit of white vinegar.
Whichever method you choose, be sure to test it out on a small area first before proceeding with your project!
Can You Use Any Paint for Whitewashing?
Whitewash is a type of paint made with lime and water. It’s often used to paint walls and ceilings in homes because it’s inexpensive and easy to apply. You can also buy premixed whitewash at most home improvement stores.
The best type of paint to use for whitewashing is latex-based paint. This type of paint will adhere better to the surface and provide better coverage than oil-based paints. However, either type of paint will work for whitewashing.
When choosing a color for your whitewash, keep in mind that the goal is to create a light, airy space. That means you’ll want to choose a white or off-white color for your base coat. Once you’ve chosen your color, mix it with water according to the manufacturer’s instructions.
Once your mixture is ready, apply it to the surface using a brush or roller. Start at the top of the wall and work your way down, applying evenly as you go. If you’re painting over dark colors, you may need two coats of whitewash to achieve desired results.
Allow each coat to dry completely before adding another.
Will Acrylic Paint Stay on Fabric When Washed?
Yes, acrylic paint will stay on the fabric when washed. However, it is important to note that the paint may fade or bleed over time. To help prevent this, you can either wash the fabric in cold water or add a fabric sealant before painting.
Conclusion
You can use acrylic paint to whitewash, but there are a few things you need to keep in mind. First, you need to choose the right paint. Second, you need to prepare the surface you’re going to be painting.
Third, you need to apply the paint correctly. And fourth, you need to protect your work once it’s done.

