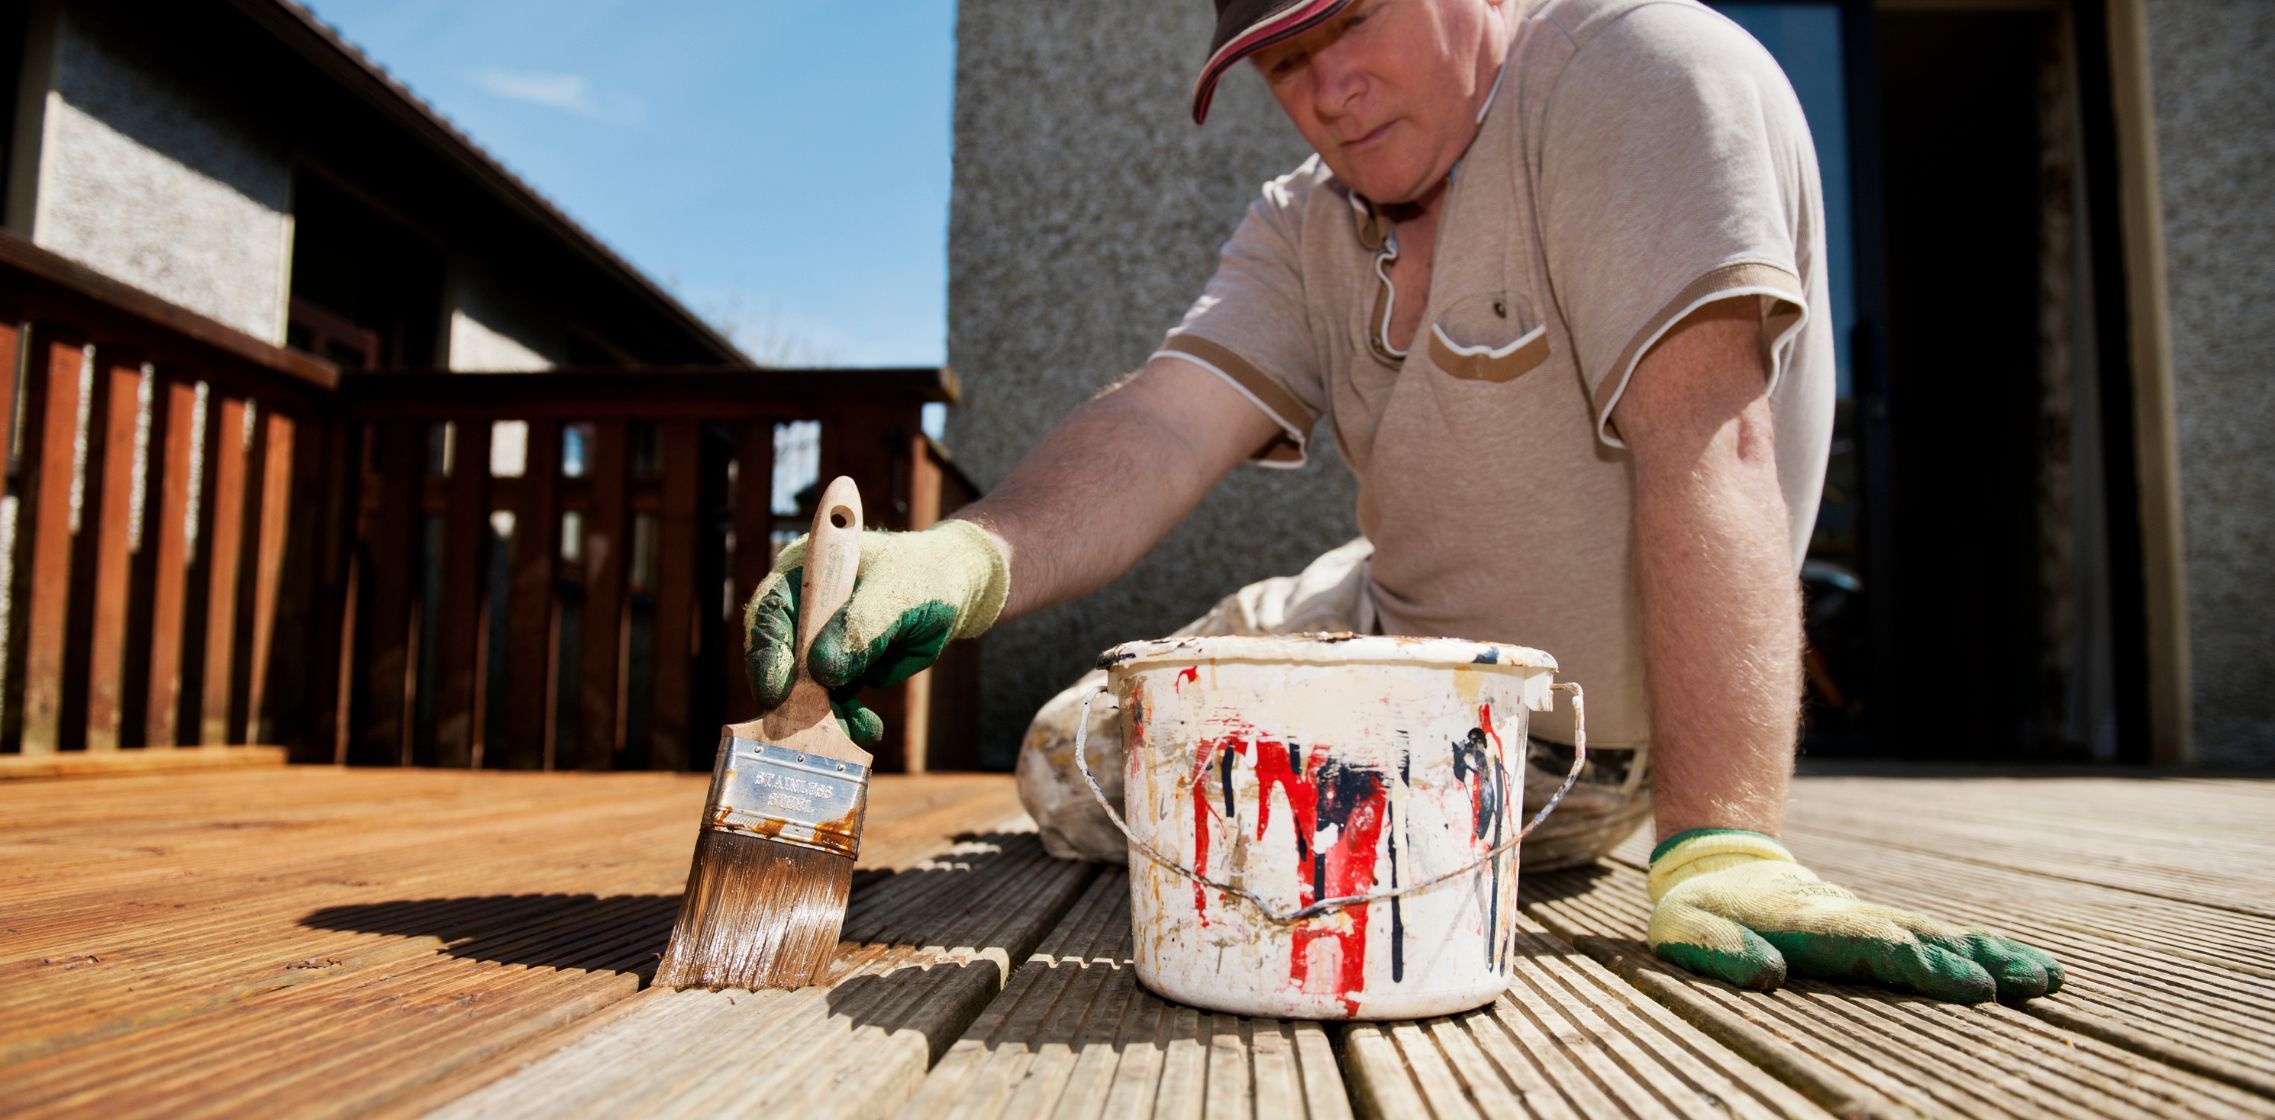
If you have a deck or shed made of treated wood that is starting to look dull and worn, you might be wondering if it’s possible to give it a fresh coat of paint.
“Fortunately, painting pressure-treated wood is indeed an option, but there are some important considerations to keep in mind.”
In this article, we will provide you with a step-by-step guide on how to paint treated wood properly and offer insights into the benefits of hiring professionals for the job.
What Is Pressure Treated Wood?
Pressure-treated wood is a type of wood that has undergone a process involving the infusion of chemicals under high pressure. This treatment enhances the wood’s resistance to weathering, rot, insects, and even fire.
It is commonly used for outdoor projects such as decks, sheds, treehouses, and picnic tables.
Staining vs. Painting Pressure Treated Wood
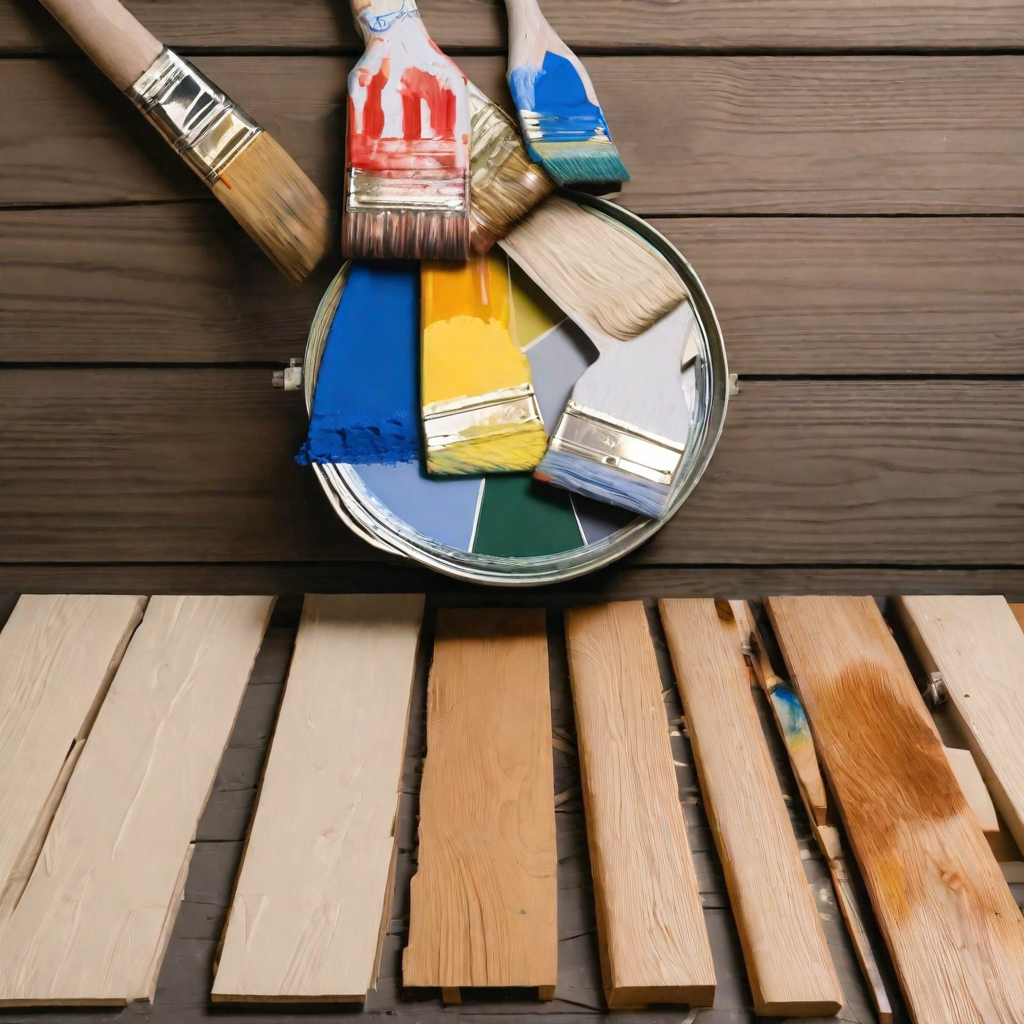
When it comes to treating pressure-treated wood, you have the option of either staining or painting it. Staining is a quicker and easier process, but it typically offers a limited range of colors, mostly in the brown family.
On the other hand, painting allows you to choose from a wide variety of colors and provides a smoother surface. However, painting pressure-treated wood requires more time and effort.
| Staining | Painting | |
| Ease of Process | Quicker and easier | More time-consuming |
| Color Options | Limited (mostly in brown family) | Wide variety of colors available |
| Surface Texture | Maintains wood texture | Provides a smooth surface |
| Protection | Protects against moisture and UV rays | Provides extra protection from dust and moisture |
| Maintenance | Requires periodic reapplication | Requires periodic v |
| Longevity | Typically lasts 2-3 years | Typically lasts 5-8 years |
| Cost | Generally less expensive | Generally more expensive |
Can You Paint Pressure Treated Wood?
“Yes, you can paint pressure-treated wood. In fact, painting can help protect the wood from dust and moisture, providing an extra layer of defense against the elements.“
Timing is Key
It’s important to note that you should not paint new pressure-treated wood right away. The wood needs to be completely dry before painting, which can take anywhere from 8 weeks to 18 months, depending on the climate.
Painting fresh pressure-treated wood can result in warping, poor paint adhesion, and peeling.
Preparing Pressure Treated Wood for Painting
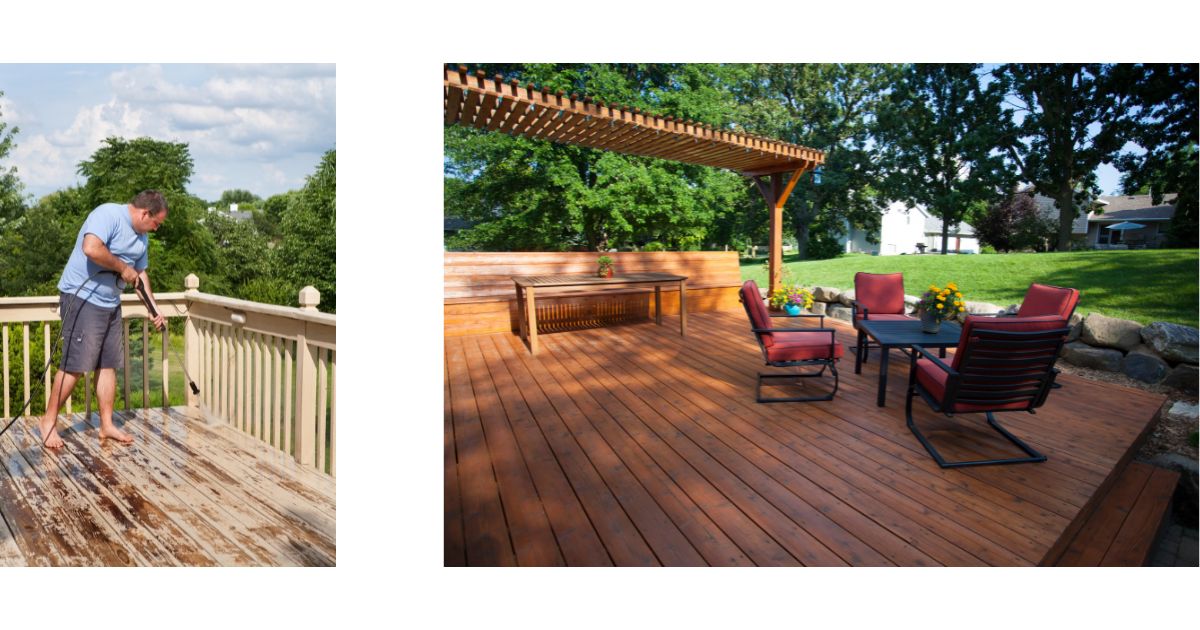
Before you start painting, ensure that the wood is completely dry. You can test its dryness by sprinkling a few drops of water on the surface. If the water beads up, the wood is still too damp for painting.
If the water soaks into the wood, it is ready for painting. Additionally, clean the wood surface of any debris or residue before applying primer and paint.
Materials Needed
Here is a list of materials you’ll need for painting pressure-treated wood:
- Brushes for cleaning the wood
- Mild detergent
- Primer
- Paintbrushes and/or rollers
- Latex paint (enough for at least two coats)
- Sandpaper and sander
- Water-repellent finish
Step-by-Step Guide to Painting Pressure Treated Wood
- Start with dry wood: Ensure that the wood is completely dry before painting.
- Apply the primer: Use a latex-based primer designed for exterior use on pressure-treated wood.
- Apply the first coat of paint: Use latex-based paint and allow it to dry thoroughly.
- Sand the wood: Lightly sand the surface between coats for better paint adhesion.
- Apply the second coat of paint: Ensure complete coverage and let it dry.
- Apply a water-repellent finish: After the paint has cured, apply a water-repellent finish or top coat to protect the wood.
Maintaining Painted Pressure Treated Wood
To maintain the appearance and durability of your painted pressure-treated wood, follow these tips:
- Prevent mold using mildewcide.
- Regularly clean the wood with an exterior wood cleaner mixed with warm water.
- Apply a wood sealer with water repellent and UV stabilizer.
- Apply sealant annually between the gaps in the wood boards.
Conclusion
Painting pressure-treated wood is a viable option to refresh and protect your outdoor structures. By following the step-by-step guide provided in this article, you can achieve a professional-looking finish.

